Introduction
Are you looking for delicious gluten-free bread? Imagine a piece that is moist, light, and dark brown—without gluten but with an exceptional style. Say goodbye to dense and flavorless replacements; hail gluten-free bread with both texture and taste. If you have celiac disease, a gluten sensitivity, or are simply exploring the benefits of gluten-free foods, then this white bread will seriously change everything.
Just imagine your favorite crostino hot out of the toaster, ready to top without the gluten guilt… This bread is as near white sandwich bread perfection with its beautifully crisp crust balanced against a tender, pure crumb. This gluten free bread strikes a great balance of taste and your nutritional requirements, perfect for dieters looking simply to eat well this season. No longer be satisfied with less because this bread means every meal is a variation of something.
If you are (as OTT warns a high percentage of Westerners secretly are) on the brink of purchasing dynamorollerated flaxseed, it’s time to make yourself do this. Find out for yourself what the difference tastes like, and see just how freeing eating a gluten free diet can be.
Prep Time: 20 minutes ⏲️
Additional Time: 1 hr 5 mins ⏳
Cook Time: 25 minutes ⏳
Total Time: 1 hr 50 mins 🕒
Servings: 12 🍽️
Ingredients for Gluten-Free White Bread :
- 1 ⅓ cups rice flour 🌾
- ⅔ cup sorghum flour 🌱
- 1 ½ teaspoons salt 🧂
- 3 tablespoons white sugar 🍚
- 1 tablespoon active dry yeast 🍞
- ½ cup potato starch 🥔
- 3 eggs 🥚🥚🥚
- ½ cup cornstarch 🌽
- 1 tablespoon xanthan gum 🧪
- 1 ¼ cups warm water 💧
- ⅓ cup vegetable oil 🛢️
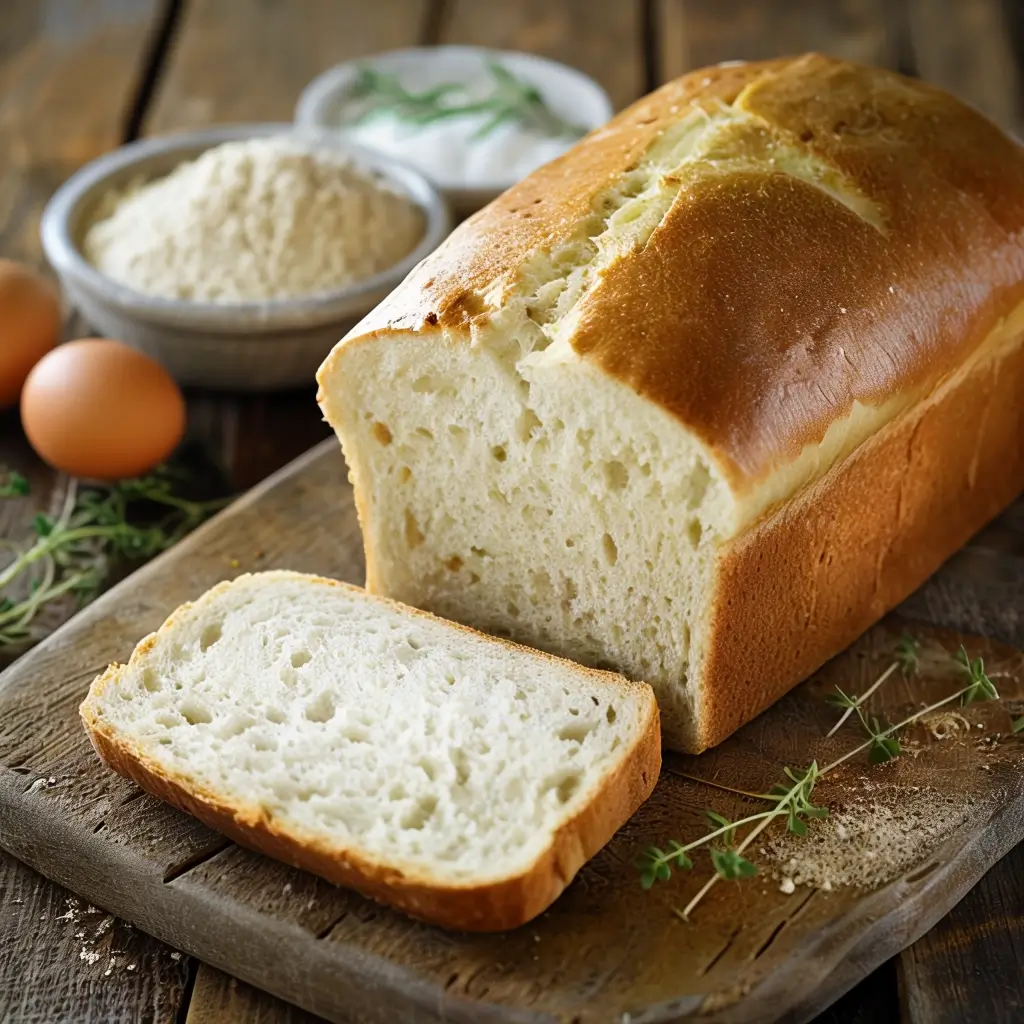
Creating Your Masterpiece(Once You Have the Ingredients) When all of these aspects converge it is a bread with an open crumb and that light , airy loaf that defies expectations of gluten-free bread. Rice flour, sorghum flour and potato starch was the perfect combo for a soft chew force which means i no longer have to use gluten! The xanthan gum binds everything and the yeast swoosh a gentle rise that simulated traditional, wheat flour bread. Great for a gluten-free diet. this bread is easy to slice and makes great sandwiches, or just toasted on the AM! This white bread is a game-changer if you have been looking for the perfect gluten-free foods to boost your meals.
Directions for Gluten-Free White Bread :
Step 1: Prepare the Loaf Pan
Start by greasing a 9×5-inch loaf pan to prevent the bread from sticking while it bakes. This step is crucial for a clean release, ensuring your loaf has a nice shape and crust when it’s finished. A simple layer of oil or butter will do the trick for a flawless result.

Step 2: Activate the Yeast
In a small bowl, mix the yeast and sugar into warm water, letting the yeast activate. After about 5 to 10 minutes, you should see bubbles and foam forming, which means it’s alive and ready to assist in making your bread rise.

Step 3: Combine the Ingredients
Using a stand mixer, blend the yeast mixture with the flours, starches, oil, eggs, xanthan gum, and salt. Mix on medium speed for approximately 2 minutes until everything is well combined into a smooth, sticky dough. This step is crucial for ensuring that the structure of the gluten-free bread holds together nicely.
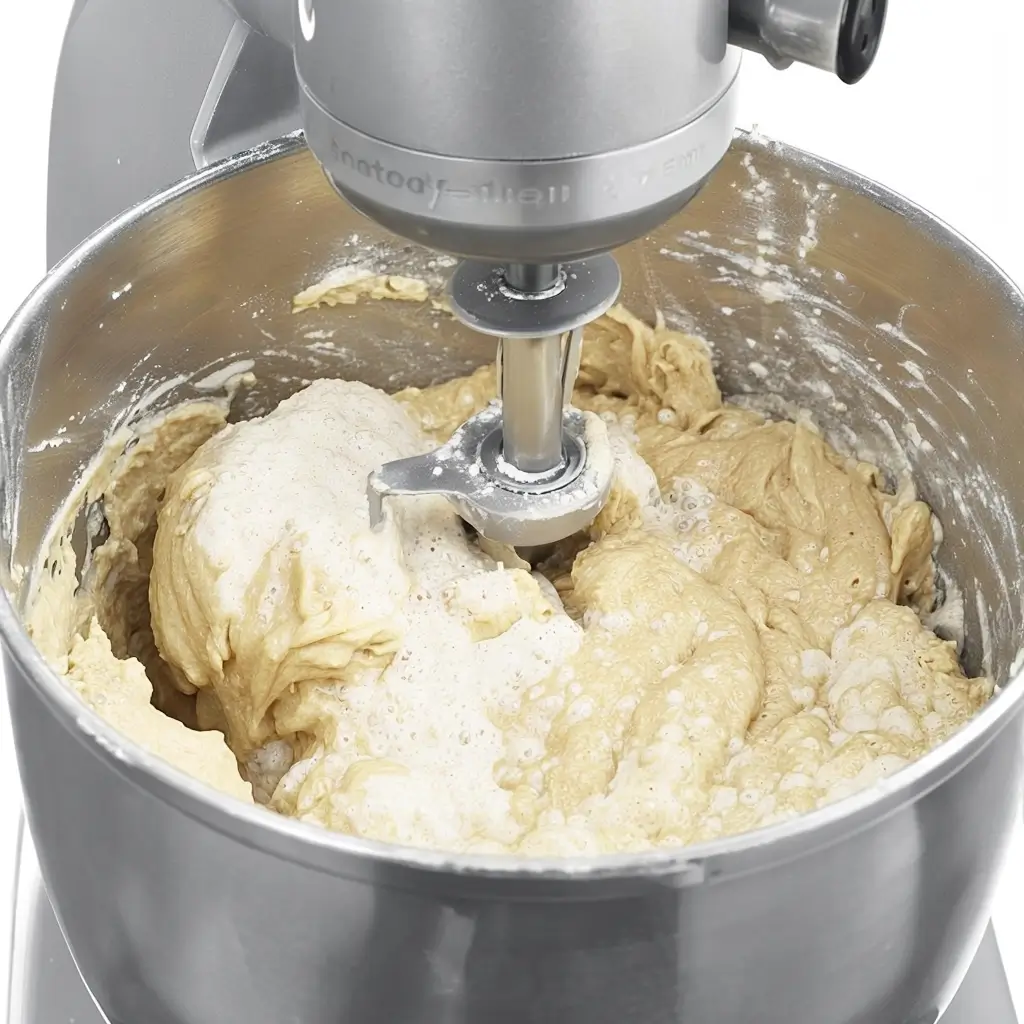
Step 4: Transfer and Smooth the Dough
Spoon the dough into your prepared loaf pan, then use the back of a wet spoon to smooth the top. This technique helps create a more even shape as the bread rises and bakes, ensuring it looks fantastic when it’s done.
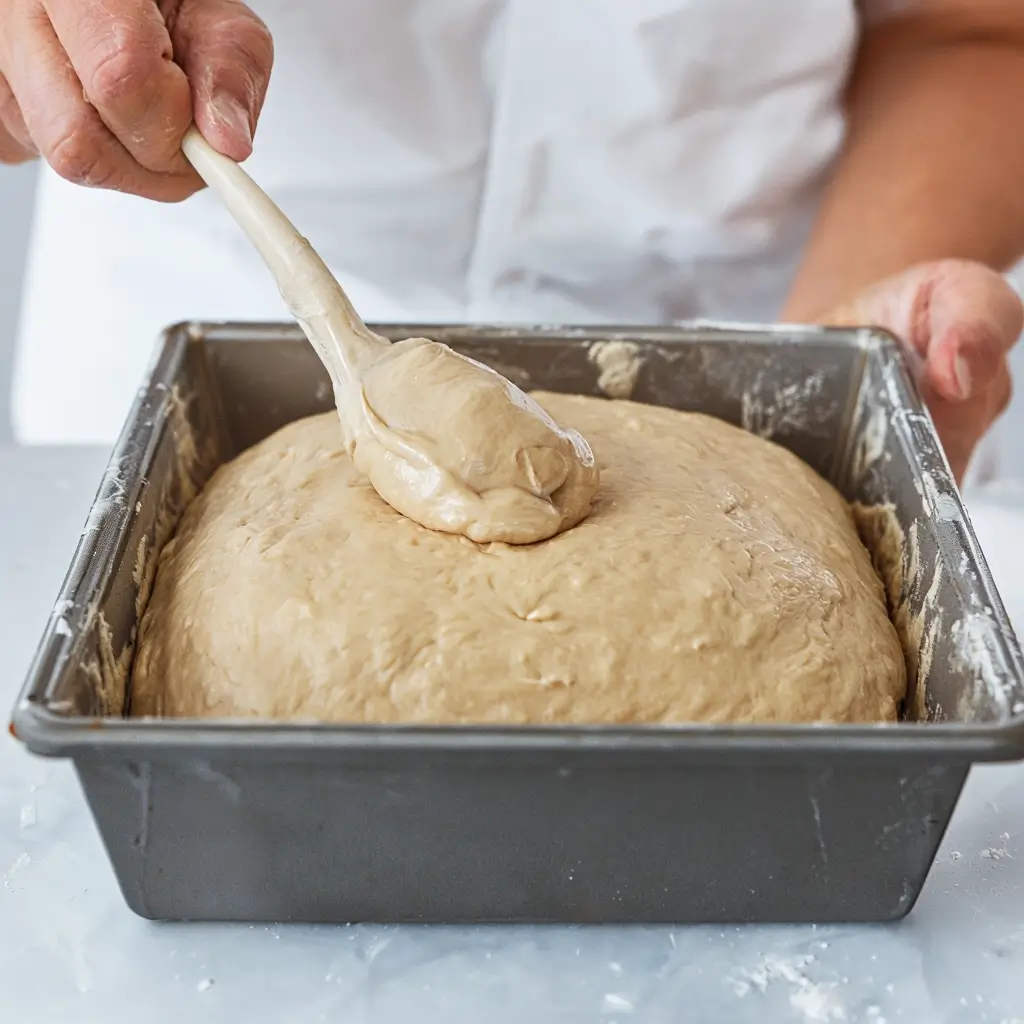
Step 5: Let the Dough Rise
Place the dough in a warm area and allow it to rise for approximately an hour. It should swell to just above the rim of the loaf pan. This is the stage where the yeast activates, forming air pockets that contribute to a light and fluffy texture.
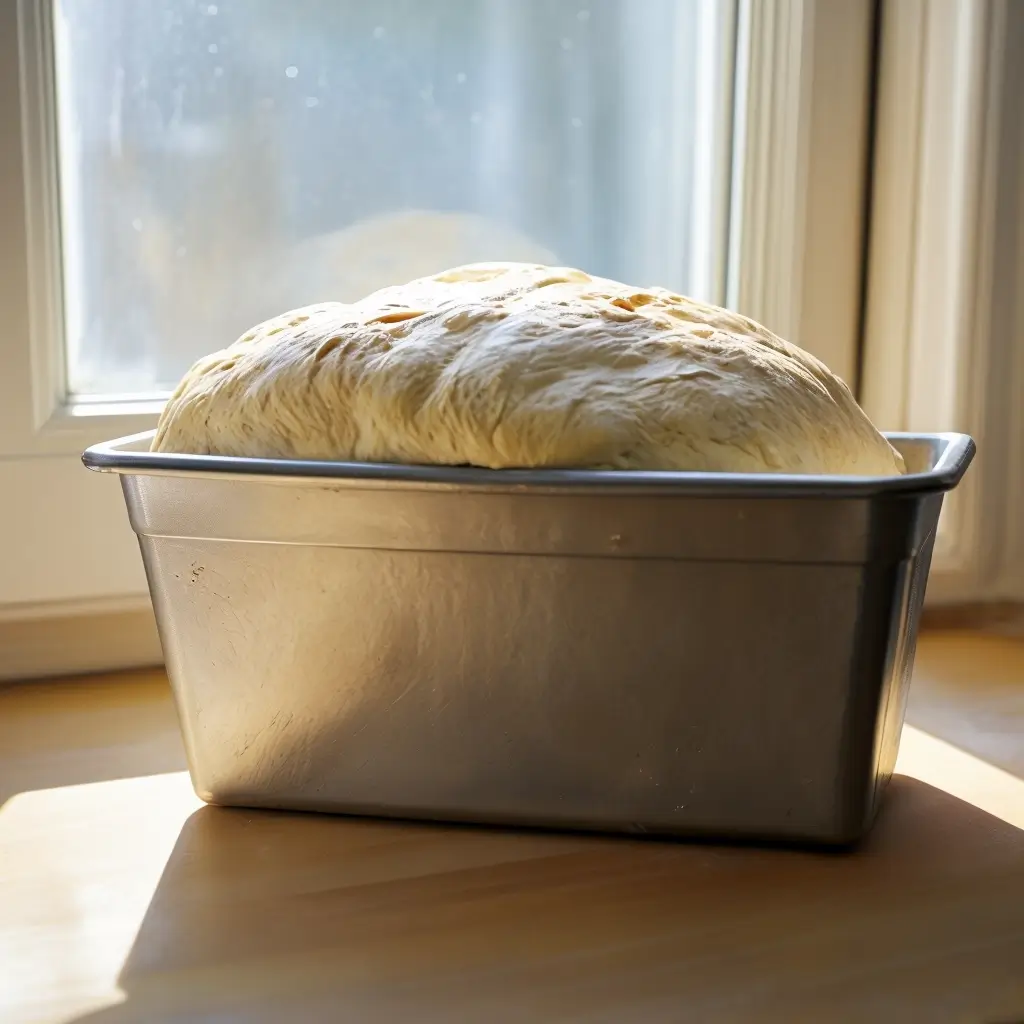
Step 6: Preheat the Oven
While the dough is rising, make sure to preheat your oven to 375°F (190°C). This way, the oven will be at the ideal temperature when your dough is ready to bake, allowing it to develop a lovely golden crust.
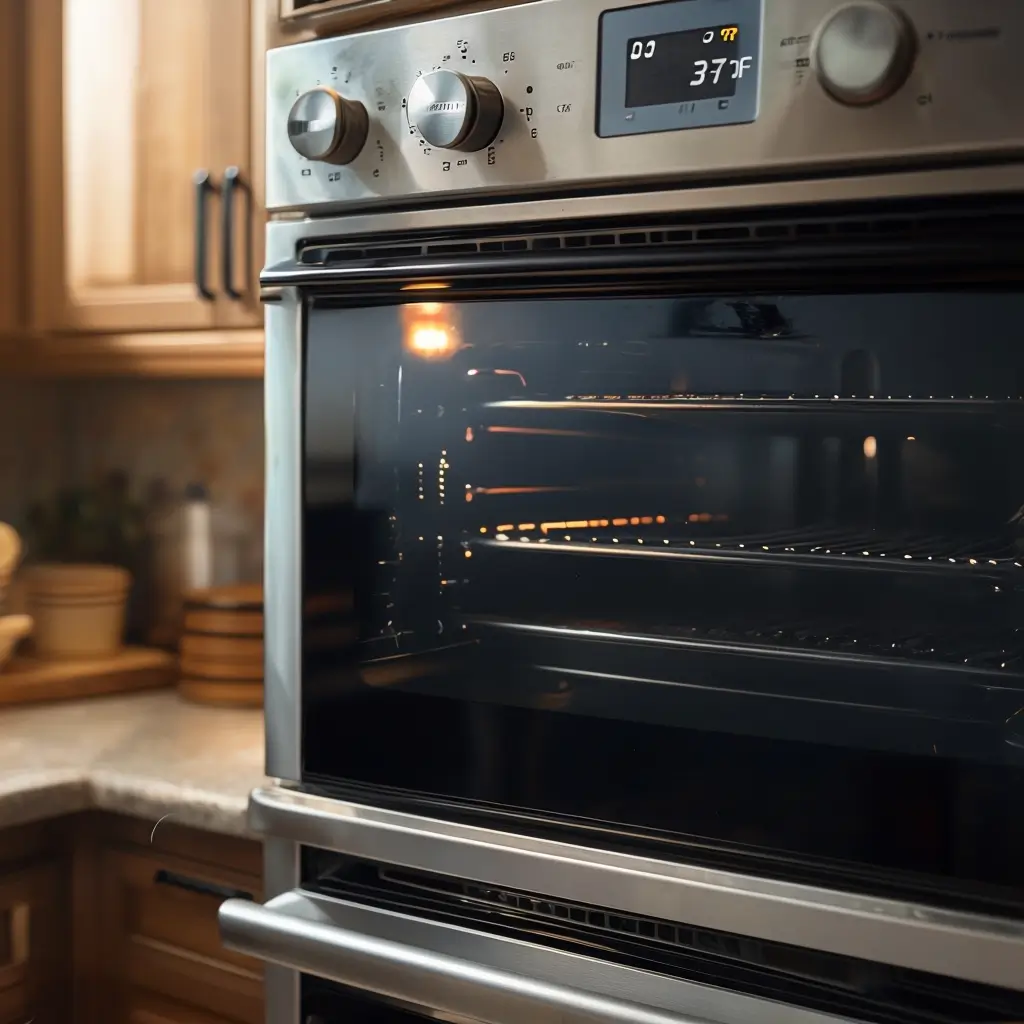
Step 7: Bake the Bread
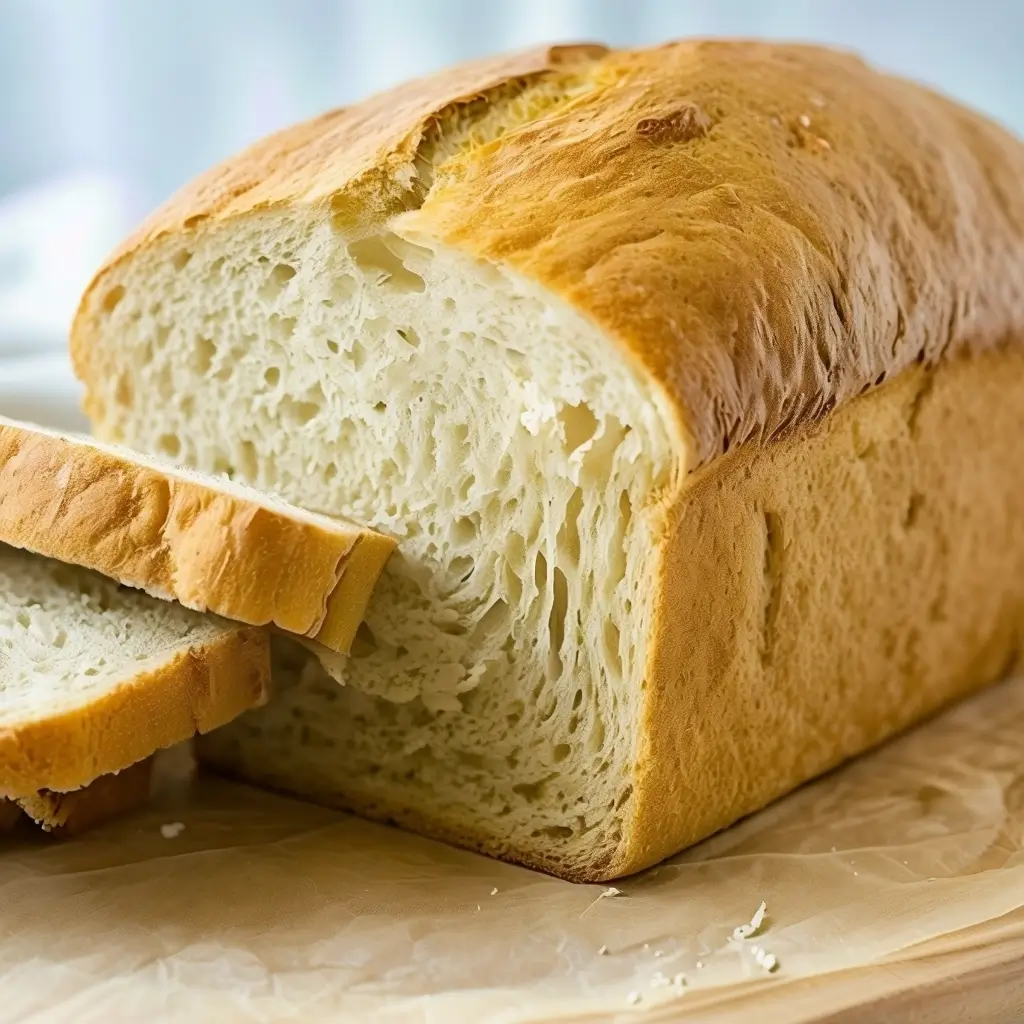
Once the dough has risen, put the loaf in the preheated oven. Bake for approximately 25 minutes, or until the bread forms a beautiful, golden-brown crust. This is the moment when your gluten-free bread turns into a soft, delicious loaf with an ideal crust.
Nutrition Facts (per serving) For Gluten-free white bread:
Calories: 222 🍽️
Fat: 8g 🥑
Carbs: 34g 🍞
Protein: 4g 🍗
Helpful Tips to make the perfect Gluten-free white bread:
Here are some helpful tips to make sure your gluten-free white bread comes out perfectly every time:
- Ensure your water is warm, not hot, when activating the yeast to prevent killing it. 💧
- Using a stand mixer can help achieve a smooth, well-mixed dough since gluten-free bread dough tends to be stickier than regular dough.🍞
- Allow the dough to rise in a warm, draft-free area for optimal results. 🌞
- Use a wet spoon to smooth the dough, which helps prevent sticking and ensures an even top crust. 🥄
- For extra flavor and a crispier crust, lightly brush the top with oil before baking. 🛢️
Discover the Secrets to Baking Delicious Gluten-Free White Bread That’s Soft, Airy, and Perfect for Any Meal
For those on a gluten-free diet, finding the ideal loaf of bread can often be a daunting task. Many gluten-free options available tend to be dense, dry, or simply lack the satisfying texture of traditional bread. But what if you could whip up a homemade gluten-free white bread that’s just as soft, airy, and tasty as any classic loaf? Whether you’re gluten intolerant, have celiac disease, or just want to cut back on gluten, this guide will uncover the secrets to baking bread that’s truly enjoyable.
Say Goodbye to Dense, Flavorless Loaves
One of the biggest complaints about gluten-free bread is its heaviness. Many gluten-free recipes yield loaves that are dense, crumbly, and devoid of flavor. This is largely due to the absence of gluten, the protein that gives traditional bread its structure. Without it, gluten-free bread requires a bit of extra assistance to achieve the desired texture. But don’t fret—by selecting the right mix of ingredients and techniques, you can create a loaf that’s light, fluffy, and bursting with flavor.
The Role of Gluten Substitutes
Gluten serves as a binding agent in bread, providing the chewy texture and structure we all expect. In gluten-free baking, it’s essential to use substitutes that replicate this effect. Ingredients like xanthan gum or guar gum are vital for giving your bread the elasticity and rise it needs. These natural additives trap air bubbles produced by yeast, allowing the dough to rise properly and develop a delicate, airy crumb.
Choosing the Right Flour Blend to make the perfect Gluten-free white bread
The flour you select can significantly impact your gluten-free bread. To create a successful gluten-free white bread, you need a mix of flours and starches that mimic the qualities of wheat flour. Common options include rice flour, sorghum flour, and potato starch. Each type of flour brings its own characteristics—rice flour offers a mild flavor and light texture, while sorghum adds a hint of sweetness and nutritional value. Starches like potato starch and cornstarch contribute to the bread’s softness and lightness.
Activating the Yeast for Maximum Rise
Yeast is essential for the rise in any bread, and it plays a crucial role in gluten-free baking. To achieve a good rise, it’s important to activate your yeast properly. Start by dissolving it in warm water with a bit of sugar. Allow it to sit for a few minutes until it begins to foam—this indicates that the yeast is active and ready to do its job. Ensure the water is warm but not hot, as excessive heat can kill the yeast, leading to a flat, dense loaf.
Mixing and Kneading: Getting the Right Consistency
When preparing gluten-free bread, the dough will appear and feel different from traditional bread dough. Rather than forming a firm, stretchy ball, gluten-free dough resembles a thick batter. This is completely normal. Using a stand mixer can help ensure that all ingredients are well combined. After mixing, transfer the dough into a greased loaf pan and smooth the top with a wet spoon to create an even surface.
The Importance of a Warm Rise
Rising is a vital step in the bread-making process, and gluten-free dough requires a warm, draft-free space to rise effectively. Place your dough in a warm area, covered with a clean cloth, and allow it to rise until it has expanded just above the top of the pan. This process may take around an hour. The warmth enables the yeast to produce air bubbles, giving the bread its light and airy texture. Skipping this step could result in dense and heavy bread.
Baking to Perfection
Start by preheating your oven to 375°F (190°C) while your dough is rising. Once the loaf has risen enough, it’s time to bake. The goal is to achieve a lovely golden crust while keeping the inside moist. Bake for about 25 minutes or until the top turns a medium golden brown. You can give the loaf a gentle tap—if it sounds hollow, it’s ready. The result will be a loaf with a beautifully crisp exterior and a soft, tender crumb inside.
Storing and Savoring Your Gluten-Free White Bread
After your bread has cooled, slice it up and enjoy! This gluten-free white bread is ideal for sandwiches, toast, or simply with a spread of butter. Keep any leftovers in an airtight container to maintain freshness for several days. You can also freeze the bread in slices, making it easy to grab individual portions as needed. Gluten-free bread tends to dry out faster than regular bread, so freezing is a great way to prolong its shelf life.
Conclusion: Enjoy Soft, Flavorful Bread Without Compromise
By following these straightforward yet crucial steps, you can bake gluten-free white bread that’s soft, airy, and bursting with flavor. Say goodbye to dense, flavorless loaves—this recipe will change your perspective on gluten-free baking. Enjoy the freedom of making delicious bread that everyone will love, whether they’re gluten-free or not!
If you enjoyed this recipe, we’d love to hear from you! Feel free to send us your thoughts or any questions you may have by visiting our Contact Us page.

Hello!
Good cheer to all on this beautiful day!!!!!
Good luck 🙂