Introduction:
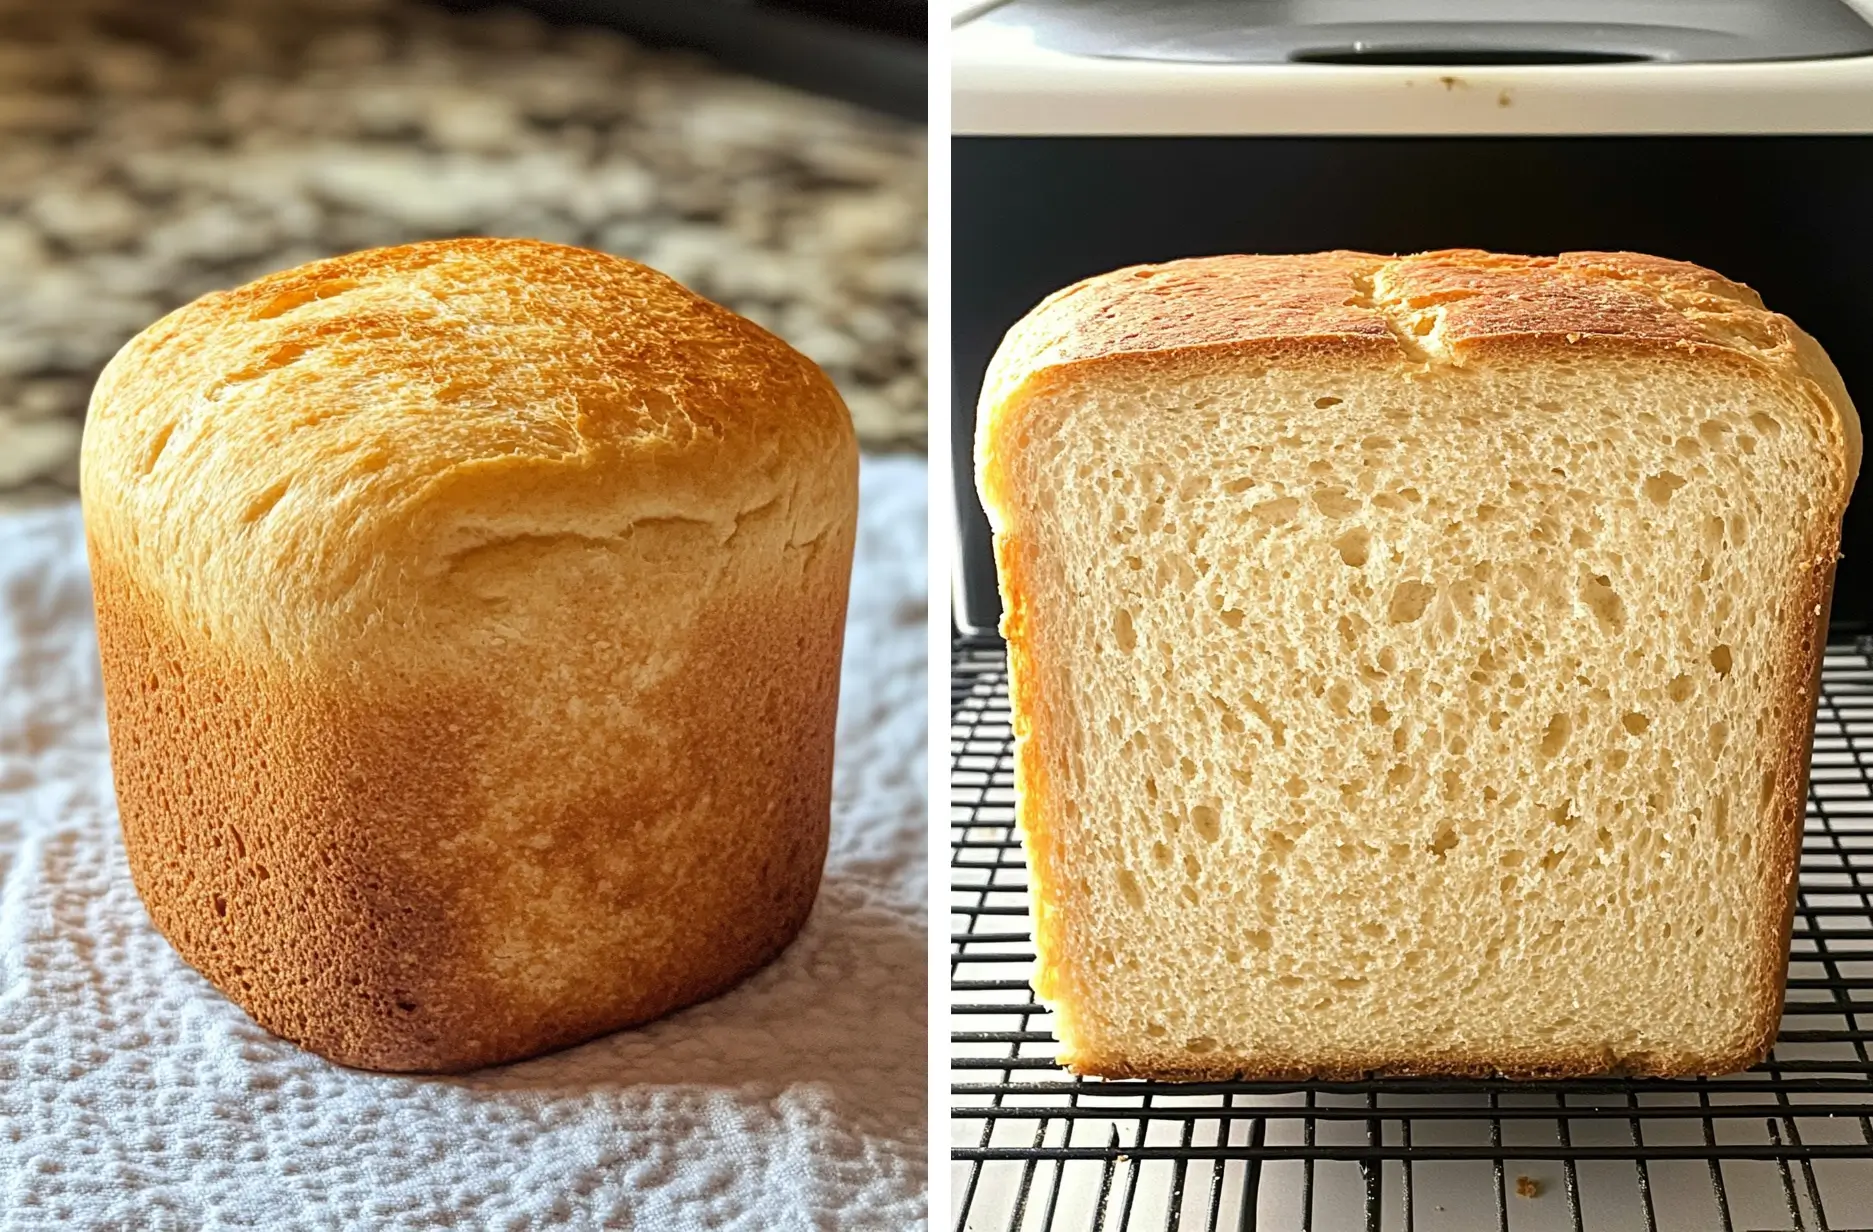
Every time I bake this Perfect Gluten-Free Bread, it reminds me of the joy of discovering something truly amazing. For years, I struggled to find bread that was soft, airy, and flavorful without any gluten. Then, I stumbled upon this recipe, and let me tell you—it was a game changer! The aroma that fills my kitchen while it bakes is heavenly, and I know you’ll love it just as much as I do. Whether you’re new to gluten-free baking or a seasoned pro, this recipe is here to steal your heart.
Ingredients for Gluten-Free Bread:
| Ingredient | Amount |
|---|---|
| Warm milk (dairy-free options: cashew, almond, or coconut milk) | 1 1/2 cups |
| Unsalted butter (dairy-free options: Earth Balance or Smart Balance) | 1/4 cup |
| Beaten eggs | 2 |
| Apple cider vinegar | 1 teaspoon |
| Honey | 1/2 cup |
| All-purpose gluten-free flour | 3 cups |
| Salt | 1 teaspoon |
| Xanthan gum (if your flour blend doesn’t already have it) | 1 1/2 teaspoons |
| Rapid yeast (instant yeast like Fleischmann’s Bread Machine Instant Yeast) | 1 3/4 teaspoons |
Personal Note: I love using a little extra honey—it makes the loaf slightly sweeter and gives it a beautiful golden crust.
Cooking Steps for Gluten-Free Bread:
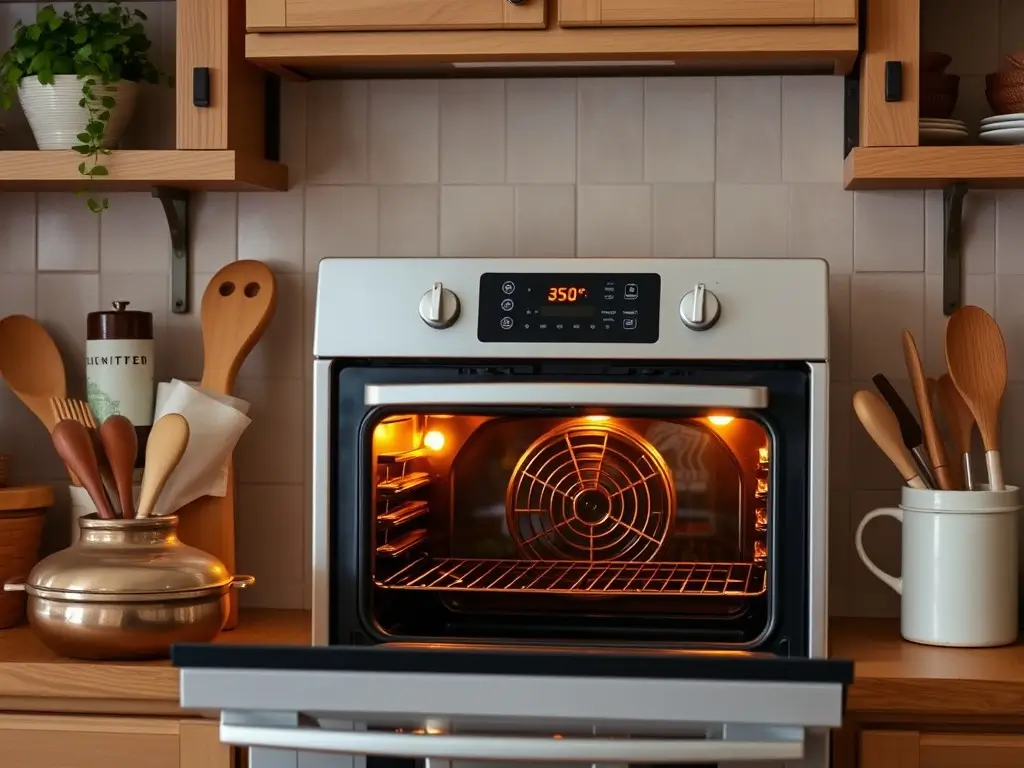
1. Preheat the Oven
Set your oven to 350°F and grease an 8×5 inch loaf pan. This step ensures your bread will release effortlessly once it’s baked. Trust me, no one likes a stuck loaf!
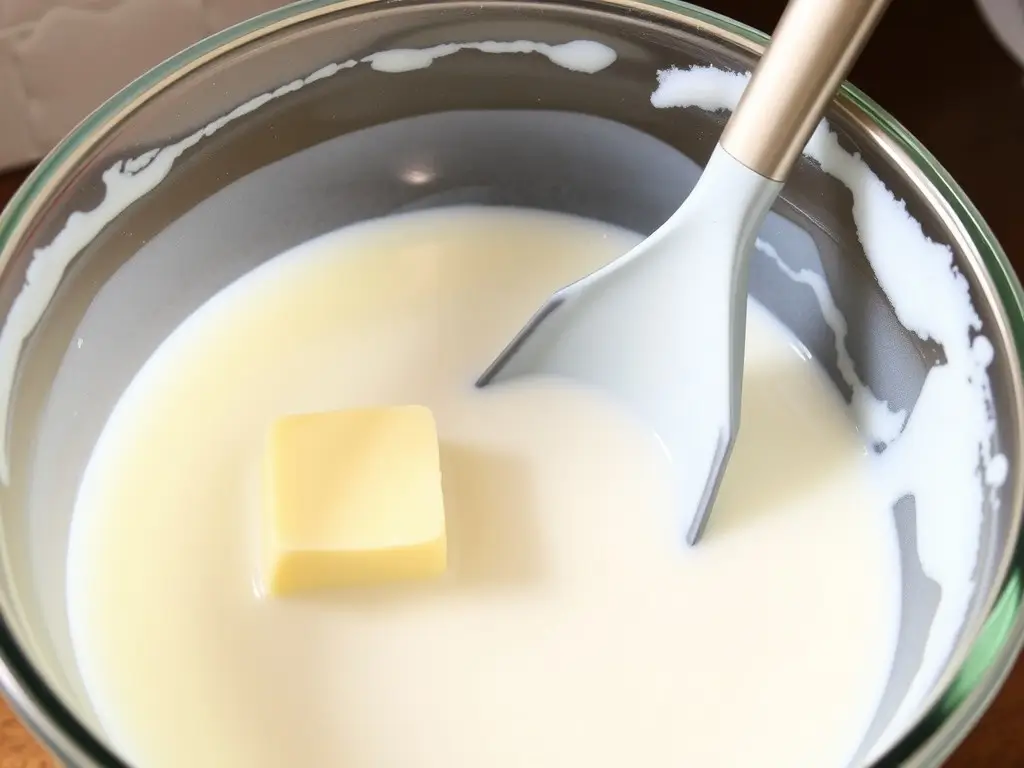
2. Combine Wet Ingredients
In your bread machine pan, pour in the warm milk and melted butter. A quick microwave zap saves time. Stir them gently.
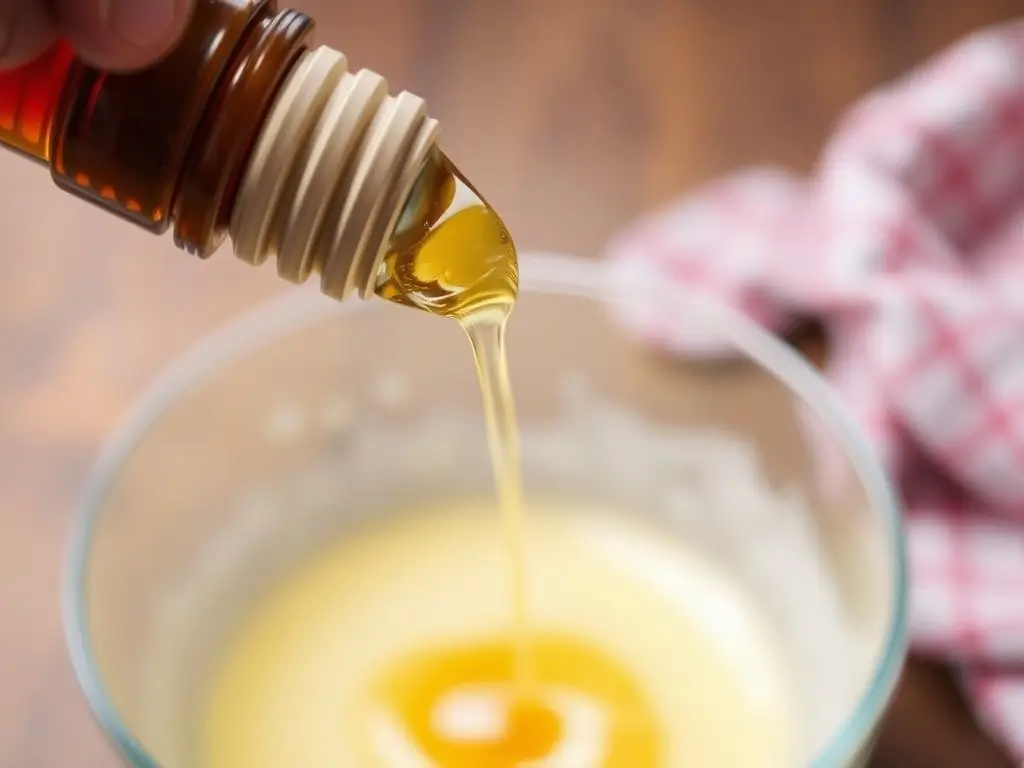
3. Add the Sweetness
Drizzle in the honey—it’s what gives the bread its delightful touch of sweetness. Stir it all together.
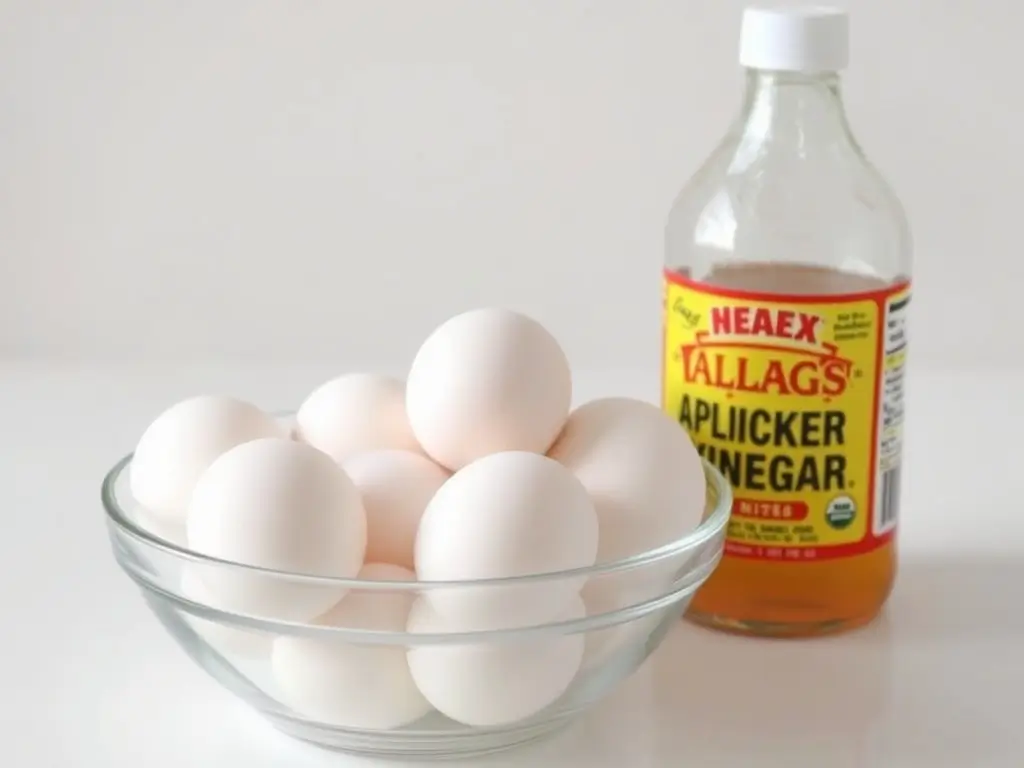
4. Add Eggs and Vinegar
Pour in the beaten eggs and a splash of apple cider vinegar. The vinegar helps the bread rise like magic.
5. Incorporate Dry Ingredients
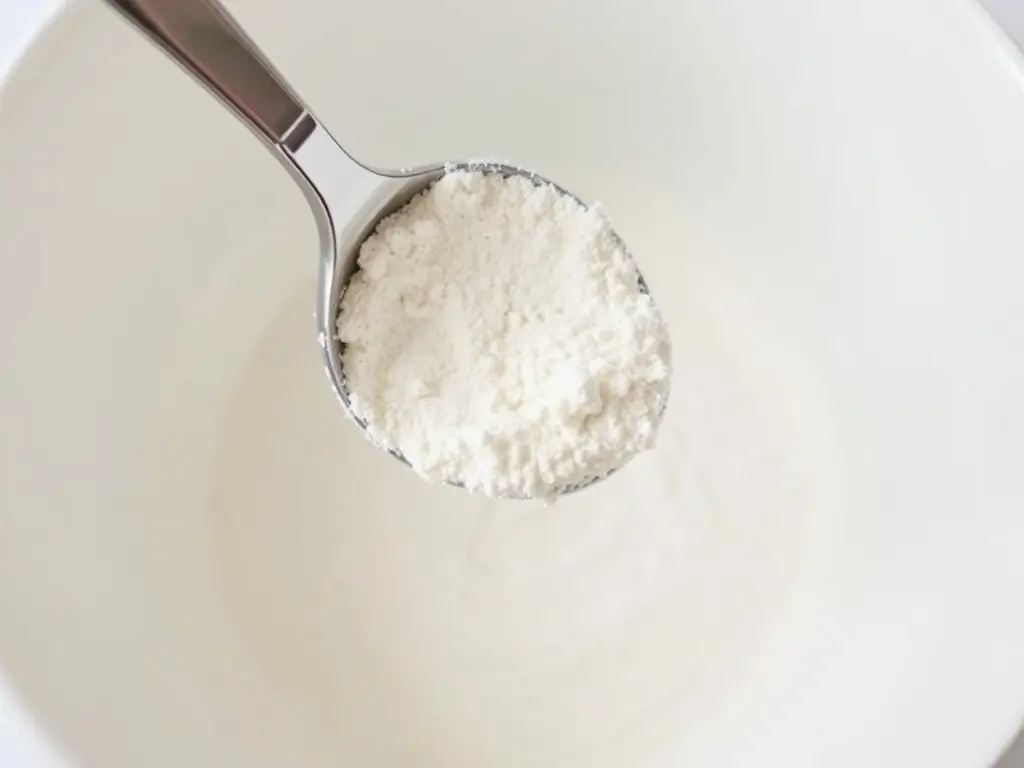
Layer your gluten-free flour on top of the wet mixture. Add salt and xanthan gum if your flour doesn’t include it.
6. Add the Yeast
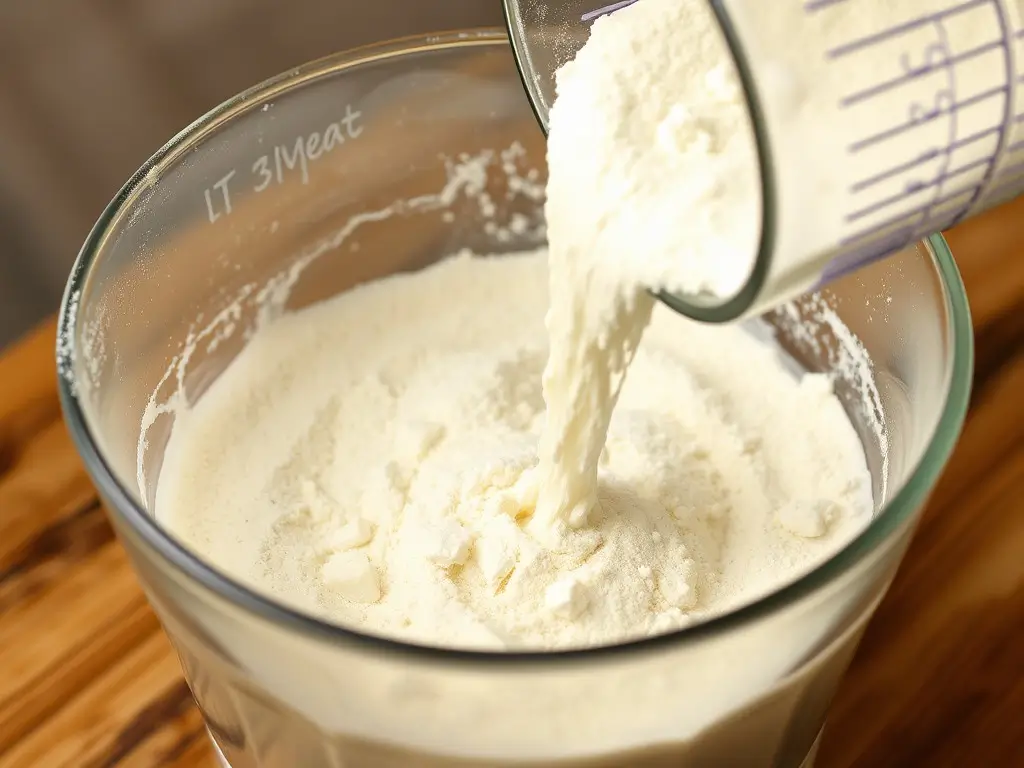
Create a small well in the flour and sprinkle in the yeast. This step is where the magic begins!
7. Start the Machine
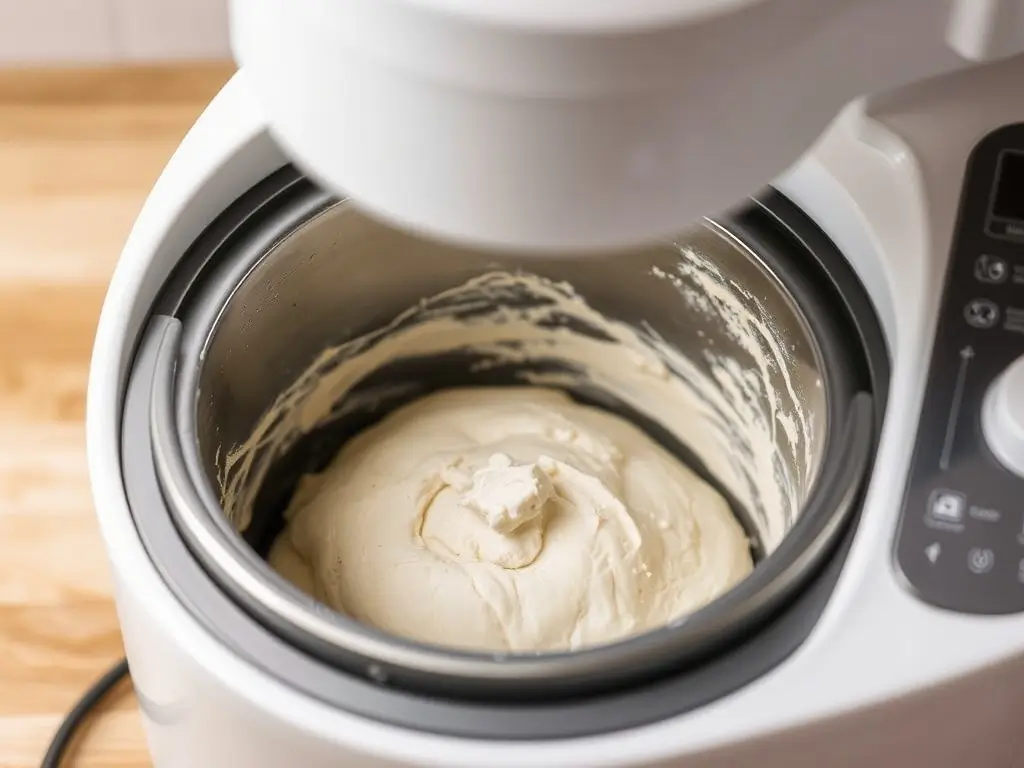
Set your bread machine to the gluten-free setting. Watch it knead and rise—your kitchen will start to smell incredible.
8. Cool Before Slicing
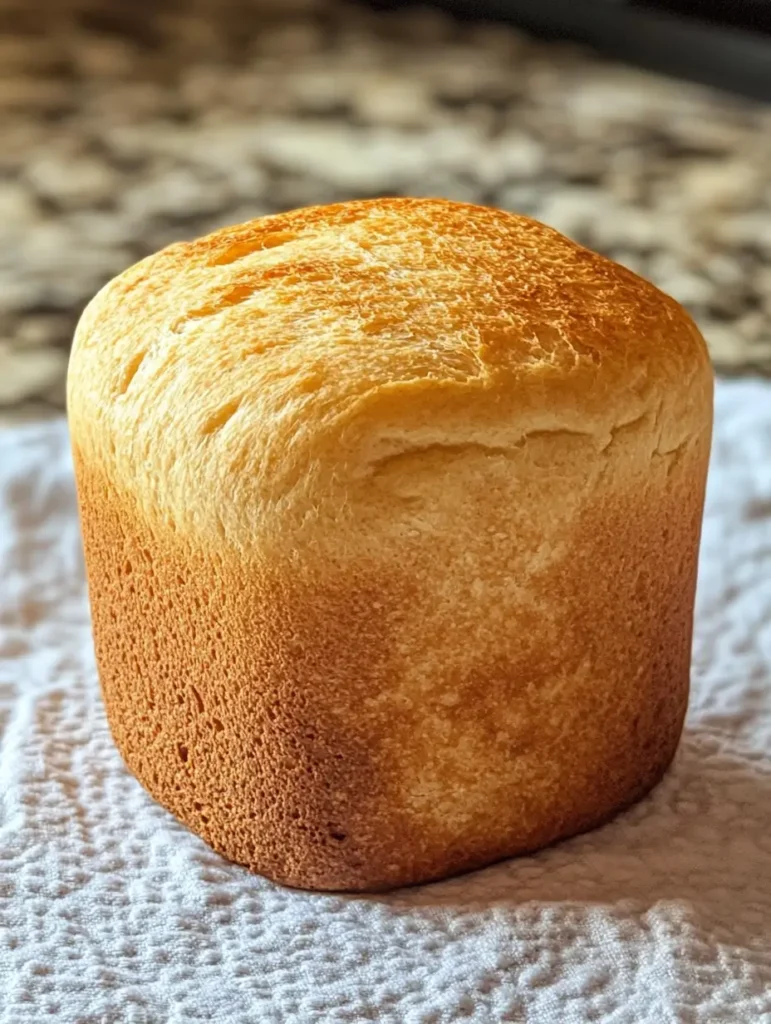
Once the bread is baked, let it cool completely before slicing. Patience is key for perfect slices!
Discover the Secrets to Making Perfect Gluten-Free Bread
Why Gluten-Free Bread Tends to Be Dense
Gluten-free bread often gets a bad reputation for being dense and heavy. This happens because it lacks the elasticity that gluten provides in traditional bread. Without gluten, it’s challenging to trap the air bubbles that create a fluffy texture. That’s why ingredients like xanthan gum or guar gum are essential. They replicate the stretchy quality of gluten, giving your bread that desirable soft texture. If you’ve ever wondered whether sourdough bread is gluten free, the answer lies in how it’s prepared. While some sourdoughs claim to be gluten-free, it’s always best to use certified gluten-free flours to ensure safety. This recipe creates a loaf that rivals even the best gluten-free bread options out there, from store-bought brands to homemade delights.
The Magic of Apple Cider Vinegar
Apple cider vinegar is a small but mighty addition to the bread recipes. It acts as a leavening agent, helping the yeast activate and giving the dough a better rise. This trick works wonders in recipes like gluten-free sourdough bread, where every bit of rise counts for that perfect airy texture. Vinegar also adds a subtle tang to the bread, enhancing its flavor profile. If you’ve experimented with gluten-free baking, you know how important it is to layer flavors since gluten-free flours can taste bland on their own. Whether you’re making sandwich loaves, muffins, or even gluten-free pita bread, a splash of vinegar can elevate the end result.
Choosing the Right Flour Blend
Not all gluten-free flours are created equal. The choice of flour blend can make or break your bread’s texture and flavor. For the best gluten-free bread, I recommend using a blend with xanthan gum or guar gum already included. This saves time and ensures that your bread won’t crumble. Some popular gluten-free flour brands, like Pillsbury, work beautifully in this recipe. Be cautious of others, as they might not provide the desired rise or texture. If you’re exploring whether does Subway have gluten-free bread, they use specific blends to achieve their results. Similarly, when making GF bread crumbs, opt for flours that provide a neutral flavor and good binding capacity.
Why Warm Milk Is Essential
The temperature of your milk might seem like a minor detail, but it’s crucial to make this bread. Warm milk, around 110°F, ensures that the yeast activates properly, allowing the dough to rise and develop air pockets. Without this, your bread might turn out dense. This technique applies whether you’re making traditional loaves or trying to determine if sourdough bread is gluten free by experimenting with your recipe. Dairy-free alternatives like almond or cashew milk work just as well, making the recipe accessible for those with dietary restrictions. The warm milk also combines beautifully with honey in this recipe, creating a tender crumb perfect for slicing or transforming into the bread crumbs for other meals.
The Secret to Sweetness
Sweetness in bread isn’t just about taste—it’s about texture too. Honey serves as a natural sweetener and a humectant, which means it helps retain moisture in the bread. This is particularly important for gluten-free recipes, as they tend to dry out quickly. A touch of honey not only enhances the flavor but also improves the bread’s shelf life. If you’ve ever tried to recreate gluten-free sourdough bread, you’ll notice that the sweetness can balance the tangy sourdough notes. Plus, when you transform leftover bread into the bread crumbs, that hint of honey adds depth to dishes like casseroles and meatloaf. It’s the little things that make a big difference!
Proper Yeast Placement
Placing yeast correctly is more important than you might think. When adding yeast to your flour, create a small well in the center of your dry ingredients. This ensures that the yeast interacts evenly with the liquid and sugar during the mixing process. Proper yeast placement is the secret behind a consistent rise, whether you’re baking a loaf or experimenting with recipes like gluten-free pita bread. For those wondering, “Is sourdough bread gluten free?” the yeast plays a similar role in activating the fermentation process. Remember, the yeast is your bread’s powerhouse—treat it with care, and it will reward you with soft, airy slices.
Letting It Cool Completely
One of the hardest parts of making bread is waiting for it to cool. It’s tempting to cut into a fresh loaf right out of the oven, but resist the urge! Slicing warm bread can result in a gummy texture and uneven slices. Letting it cool allows the crumb to set properly, ensuring clean, perfect slices every time. This is particularly true for this bread, where structure can be delicate. Whether you’re enjoying it as-is or using it for recipes like gluten-free pita bread, cooling is a step you can’t skip. Once cooled, this loaf also works beautifully as the best gluten-free bread crumbs, adding flavor and texture to your dishes.
Special Tools That Make a Difference
Having the right tools can simplify the bread-making process and improve your results. A bread machine with a gluten-free setting takes out much of the guesswork and ensures consistent mixing and rising. If you don’t have one, a stand mixer with a paddle attachment works too. When making specialized recipes like gluten-free sourdough bread, having tools like a proofing basket or dough scraper can make all the difference. For those curious about does Subway have gluten-free bread, the chain uses professional-grade ovens to achieve their results. At home, a trusty loaf pan and a wire cooling rack are your best friends for crafting bakery-quality loaves.
Storing Leftovers
Proper storage is key to maintaining the freshness of this bread. Once cooled, wrap the bread in a clean kitchen towel and store it in an airtight container at room temperature for up to three days. For longer storage, slice the bread and freeze the slices in a resealable bag. This method also works for other gluten-free staples like gluten-free pita bread, ensuring they stay soft and ready to use. Leftover slices can easily be repurposed into the bread crumbs, perfect for breading or adding to recipes. Whether it’s a loaf of gluten-free sourdough bread or a classic sandwich loaf, proper storage ensures you get the most out of your efforts.
How to Avoid Common Gluten-Free Bread Mistakes
Gluten-free bread baking can be tricky, and it’s easy to make mistakes that affect the outcome. One common error is using the wrong flour blend. Always select a high-quality all-purpose gluten-free flour that’s designed for baking and contains xanthan gum for structure. Another pitfall is not activating your yeast correctly—be sure your milk is warm but not too hot, around 110°F. Overmixing or undermixing the dough can also lead to poor texture. Trust me, I’ve been there! If you’ve ever struggled with achieving the soft, airy crumb found in gluten-free sourdough bread, these tips will help you get closer to perfection. With a little care and practice, you’ll be making the best bread in no time.
Why Texture Matters in Gluten-Free Baking
The texture is everything when it comes to gluten free bread. Unlike traditional bread, which relies on gluten for elasticity, this bread needs a combination of ingredients to achieve the right structure. Xanthan gum provides a chewiness that mimics gluten, while eggs and apple cider vinegar work to bind the dough and give it lift. Whether you’re aiming to create a loaf for sandwiches or experimenting with recipes like gluten-free pita bread, understanding texture is key. Even small tweaks, like ensuring proper hydration of your dough, can make a big difference. A well-made the bread is soft, not crumbly, and holds up beautifully whether toasted or sliced.
The Joy of Experimenting with Flavors
One of the best parts of baking your own bread is the opportunity to experiment with flavors. While the base recipe is delicious as is, adding ingredients like herbs, spices, or seeds can make your bread stand out. Rosemary, garlic, or even a sprinkle of sesame seeds can elevate a loaf into something truly special. You can also adapt the recipe for different occasions—think cinnamon and raisins for a sweet breakfast loaf or savory sun-dried tomatoes for an Italian-inspired twist.
The Joy of Sharing
There’s something magical about sharing homemade bread. It brings people together and fills your kitchen with warmth and happiness. When you bake this bread, it’s more than just a recipe—it’s a labor of love. From loaves to rolls, from gluten-free sourdough bread to freshly made best gluten-free bread crumbs, every piece tells a story. Sharing this bread with family and friends is a way to spread joy and make memories. So go ahead, bake your heart out, and share your creations with those you love. After all, isn’t that what baking is all about?
Serving Suggestions and Sides
This bread is perfect with butter, jams, or as a base for your favorite sandwiches. I also love using it to make the bread crumbs for recipes!
FAQ
Is sourdough bread gluten-free?
Not always, but there are gluten-free sourdough bread recipes you can try.
Does Subway have gluten-free bread?
Yes, some locations offer gluten-free pita bread or other options. Check with your local store.
What’s the best gluten-free bread?
This one, of course! But brands like Canyon Bakehouse also offer great options.
For more homemade cracker recipes, check out our Vegan Strawberry Trifle or Orange Poppy Seed Bread!
If you enjoyed this recipe, we’d love to hear from you! Feel free to send us your thoughts or any questions you may have by visiting our Contact Us page.

1 thought on “Gluten-Free Bread That’s So Good”