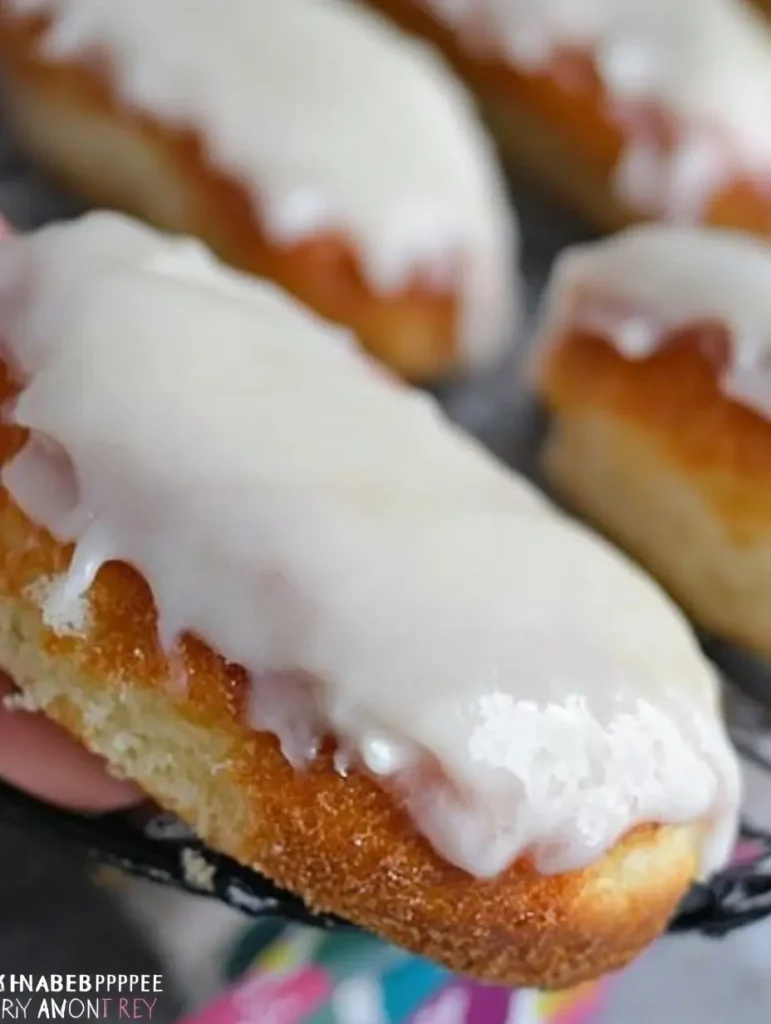
Imagine the delight of a gluten-free iced buns that’s soft, sweet, and topped with a luscious glaze. For anyone who’s had to say goodbye to traditional bakery delights due to dietary restrictions, these buns bring a taste of nostalgia back to your plate. With each bite, experience the fluffy texture, warm undertones of spices, and that perfect balance of sweetness from the glaze, making these iced honey buns simply irresistible.
Not only is this recipe designed for those with gluten sensitivity, but it’s also a healthier, homemade alternative to store-bought buns. From a cinnamon-spiced dough to a delicately sweetened frosting, this recipe offers it all—without any compromise.
Intrigued to bring this delectable treat into your kitchen? With a few simple steps, wholesome ingredients, and our foolproof method, you can create these delightful buns right at home. Ready to transform your gluten-free baking game? Keep reading, gather your ingredients, and prepare to indulge in a treat that’s equal parts comfort and elegance.
⏲️ Prep Time: 15 minutes
🔥 Cook Time: 20 minutes
⏳ Proving Time: 1 hour
⏰ Total Time: 1 hour 35 minutes
Ingredients of Gluten-Free Iced Buns 🍞
- 🥛 150ml full-fat milk
- 🍚 35g caster sugar
- 🌾 4g dried quick yeast
- 🌾 200g gluten-free bread flour (I used FREEE)
- 🥄 ½ tsp xanthan gum
- 🧂 ½ tsp salt
- 🥚 1 large egg
- 🍏 ½ tsp apple cider vinegar
- 🥄 2.5 tbsp vegetable oil
- 🧈 15g butter (melted)
For the Icing:
- 🍩 250g icing sugar
- 💧 2-3 tbsp water
Imagine biting into a soft, pillowy bun, the perfect balance of sweetness from a thick glaze, with warm spices that dance on your taste buds. These gluten free iced buns are a dream for anyone craving indulgent, bakery-style treats without the gluten. Whether enjoyed as a breakfast delight or an afternoon snack, each bun is a testament to homemade goodness. The subtly spiced dough and cinnamon bun icing make these buns utterly addictive. Plus, the icing is simple yet satisfying—no need for complex ingredients like cream cheese! It’s time to experience the comfort of a classic iced honey bun with a modern, gluten-free twist. Ready to try it?
Directions for Gluten-Free Iced Buns
Step 1: Warm the Milk
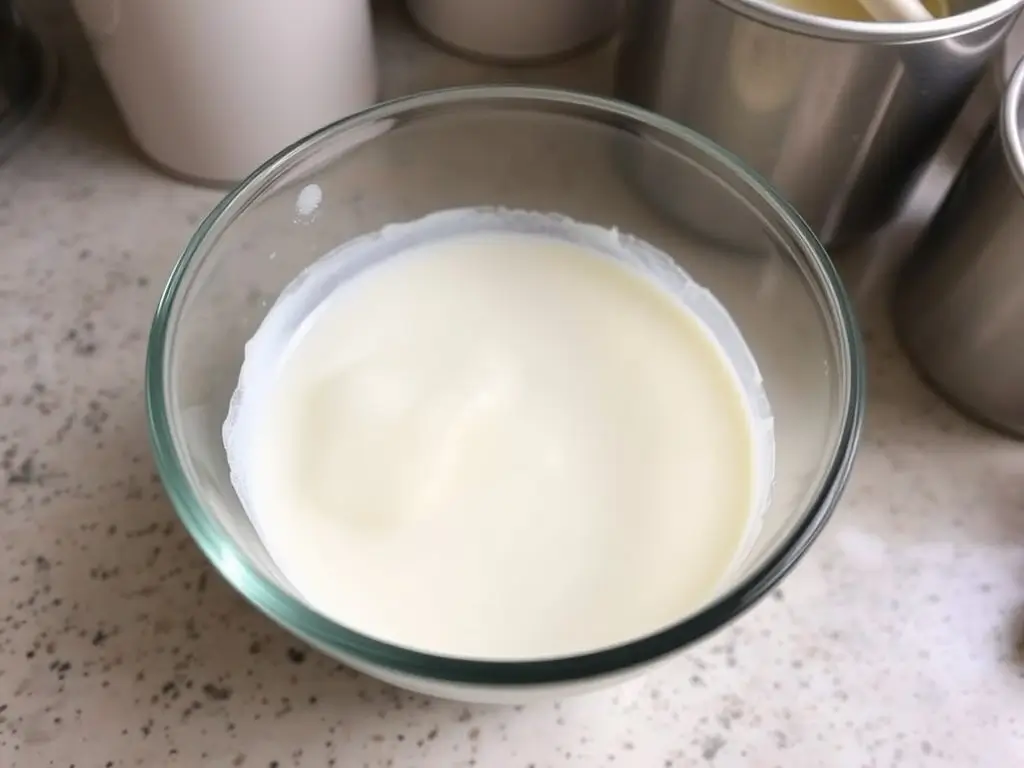
In a small pan, measure out 150 ml of full-fat milk and warm it on very low heat until it reaches skin temperature (you shouldn’t feel any heat when you dip your finger in). Remove the pan from heat and pour the milk into a jug.

Step 2: Activate the Yeast
Stir in 35g of caster sugar into the warm milk until dissolved. Add 4g of dried quick yeast and give it another stir. Let the mixture sit in a warm spot for 5-10 minutes. When ready, it will have a frothy top.
Step 3: Mix Dry Ingredients
In a large mixing bowl, combine 200g of gluten-free bread flour, ½ teaspoon xanthan gum, and ½ teaspoon salt. Stir to mix the ingredients evenly.
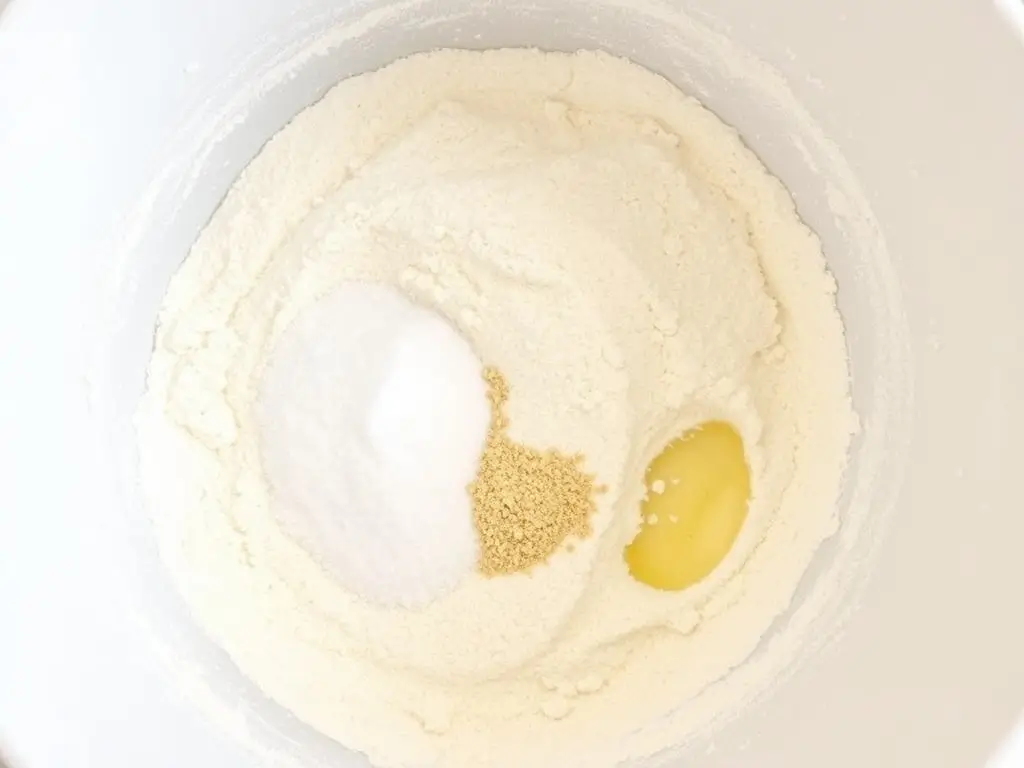
- Prompt: “Bowl with gluten-free flour, xanthan gum, and salt, ready to be mixed for gluten-free iced buns.”
- Alt Text: “Dry ingredients for gluten-free iced buns in a mixing bowl.”
Step 4: Prepare the Wet Ingredients
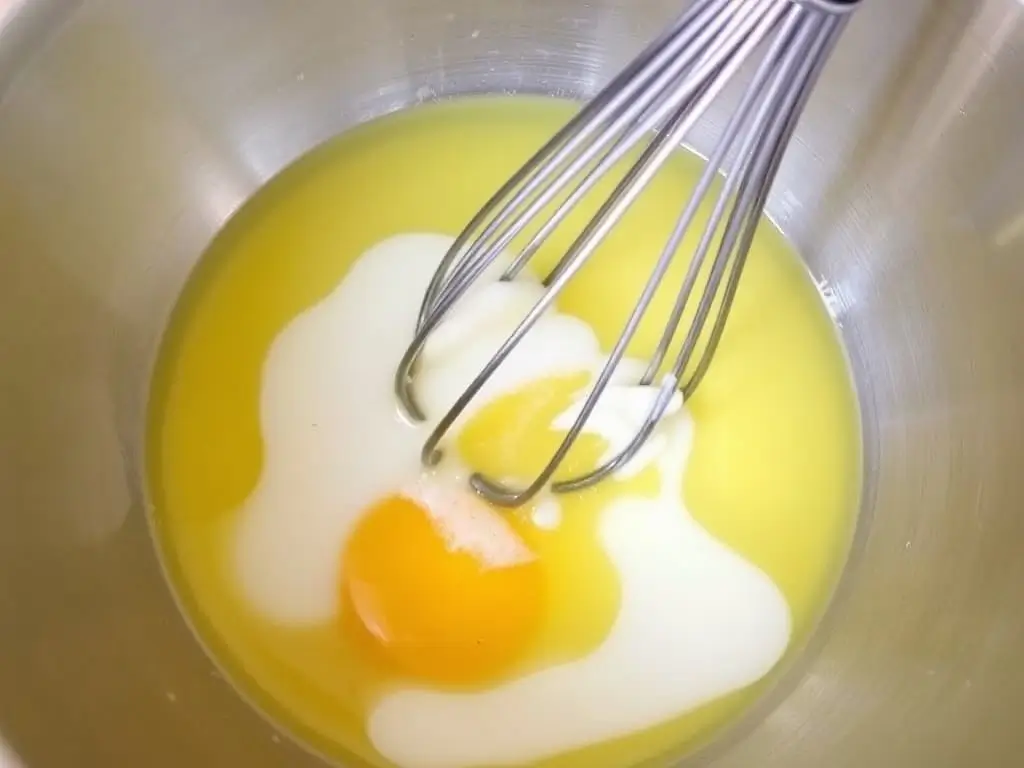
In a separate bowl, whisk together 1 large egg, ½ teaspoon apple cider vinegar, and 2.5 tablespoons of vegetable oil. This mixture will enrich the dough.
Step 5: Combine Ingredients
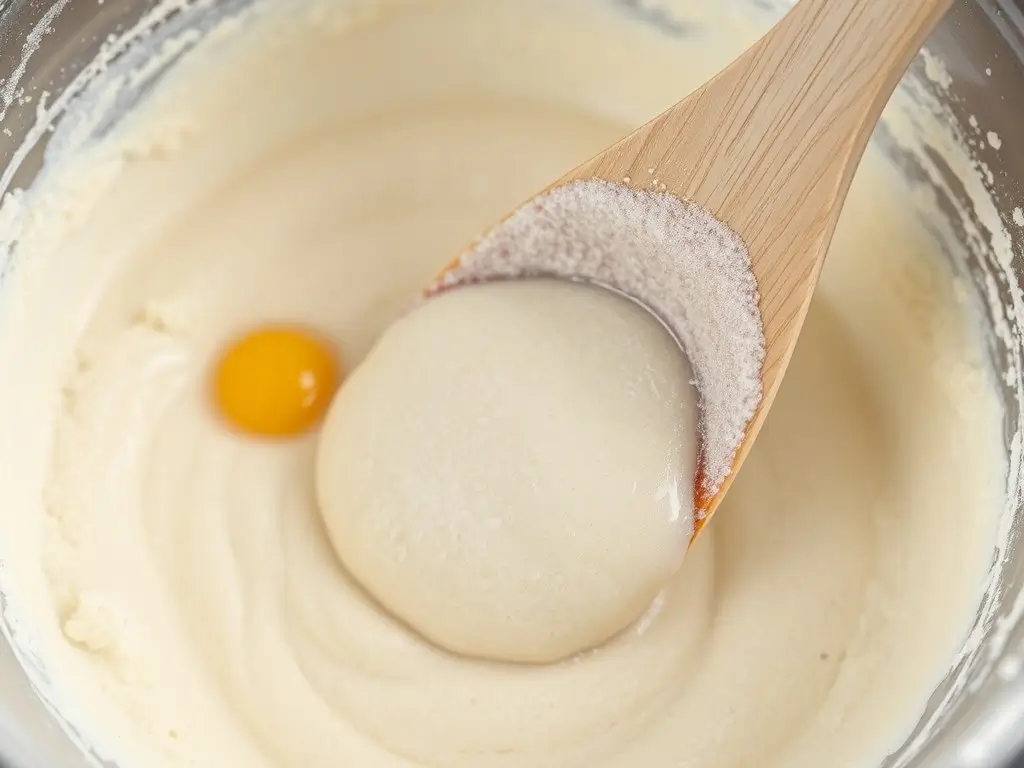
Once the yeast mixture is frothy, add it to the flour along with the egg mixture. Use a wooden spoon to beat everything into a thick, sticky dough.
Step 6: Shape the Dough
Line a baking tray with baking paper. Use two spoons to dollop a quarter of the dough mixture onto the tray in a rough, sausage shape. Wet hands and shape the dough into rolls, leaving some space between them.

Step 7: Prove the Dough
Cover the tray with oiled clingfilm and place it in a warm spot for an hour, allowing the buns to double in size and touch each other.

Step 8: Bake the Buns
Preheat your oven to 200°C (Fan 180°C). Once the buns have risen, brush the tops with melted butter and bake for 20-25 minutes until golden brown.

Step 9: Prepare the Icing
In a bowl, mix 250g of icing sugar with 2-3 tablespoons of water to create a thick, spreadable glaze. Spread this icing on the buns once they’ve cooled.
Nutrition Facts of Gluten-Free Iced Buns 🍽️
- 🍪 Calories: 684
- 🥄 Total Fat: 18g
- 🔸 Saturated Fat: 4g
- 🔸 Trans Fat: 0g
- 🔸 Unsaturated Fat: 13g
- 🍳 Cholesterol: 58mg
- 🧂 Sodium: 614mg
- 🍞 Carbohydrates: 123g
- 🥖 Fiber: 4g
- 🍯 Sugar: 76g
- 🍗 Protein: 9g
Helpful Tips to Make the Perfect Gluten-Free Iced Buns
Creating the perfect gluten-free iced buns requires patience, a few extra steps, and careful handling of ingredients. Using full-fat milk and fresh yeast is crucial; they lend the dough an airy, light texture. Pay attention to the dough’s consistency. Gluten-free doughs tend to be stickier than regular ones, so don’t worry if it feels different. Ensuring your workspace is warm will help the dough rise properly. Proving the dough is key; if it doesn’t double in size, give it a little more time to avoid dense buns. Adding a touch of cinnamon bun icing on top enhances flavor without overwhelming it. For those who want an alternative, try an icing for cinnamon buns without cream cheese, as it brings a balanced sweetness without masking the spices.
Discover the Secrets to Making Gluten-Free Iced Buns
Discover the secrets to crafting gluten-free iced buns that are soft, tender, and topped with a perfectly sweet glaze.
Choosing the Right Gluten-Free Flour to make a perfect Gluten-Free Iced Buns
A high-quality gluten-free flour mix is the foundation of these buns. Flour blends containing xanthan gum add elasticity and structure, mimicking the chewiness of traditional wheat flour. Brands like FREEE by Doves Farm produce blends designed for smooth, consistent baking. When choosing a flour, look for one specifically crafted for bread or yeast-based recipes, as it ensures a better rise and more authentic taste. Experimenting with different flour brands may also help you find the perfect match for your buns.
Mastering the Art of Proving
Proving, or allowing the dough to rise, is crucial for soft, airy buns. To achieve optimal results, cover the dough and place it in a warm, draft-free area for about an hour. Gluten-free dough often takes longer to rise due to its unique composition, so patience is essential. By giving the dough adequate time, you’ll notice a significant increase in volume, resulting in light, fluffy buns. Ensure the environment is consistently warm, as sudden temperature changes may interfere with the proving process.
Achieving the Perfect Icing Consistency
The right icing transforms a good bun into a great one. Start with icing sugar and add water gradually, aiming for a thick yet spreadable consistency. This controlled approach prevents the glaze from becoming too runny. Once ready, spread or drizzle it on the buns for a professional finish. The glaze should cling beautifully without dripping excessively, providing a visually appealing, indulgent sweetness. For a flavor twist, consider adding a hint of vanilla or almond extract to the icing.
Controlling Dough Stickiness
Gluten-free dough tends to be stickier than regular dough, making shaping challenging. To combat this, keep your hands slightly wet when handling the dough, as moisture prevents sticking and allows for better control. Additionally, using two spoons to portion out the dough before shaping helps maintain even sizes. For best results, focus on forming compact, sausage-like rolls, which will create consistent, bakery-style buns. Remember, a little stickiness is natural with gluten-free dough, so don’t add extra flour.
Using Apple Cider Vinegar for Softness
Apple cider vinegar is a surprising yet effective addition to gluten-free dough. A small amount enhances the dough’s texture, adding tenderness without affecting taste. The vinegar also supports the dough’s rising process, working alongside yeast to create a light, airy bun. This addition is particularly useful in gluten-free baking, where achieving softness can be tricky. Plus, apple cider vinegar has a natural tang that balances the flavors, allowing the buns’ spices to shine through more vibrantly.
The Role of Warm Milk for a good Gluten-Free Iced Buns
Warm milk is essential for activating the yeast, which is the cornerstone of light, fluffy buns. Ideally, the milk should be warmed to skin temperature—if it’s too hot, it may damage the yeast, and if it’s too cool, the yeast may not activate properly. Adding sugar to the milk before activating the yeast provides an additional boost, ensuring robust rise. The milk not only contributes to the texture but also adds a creamy richness that enhances the overall flavor of the buns.
Why Full-Fat Ingredients Matter
Full-fat milk and butter add moisture and depth to gluten-free buns, resulting in a rich, tender crumb. Fat enhances the mouthfeel and creates a delicate texture, especially important in gluten-free recipes where doughs can sometimes feel dense. Using full-fat ingredients also adds a subtle layer of flavor that elevates the buns, making each bite satisfying. Substituting with lower-fat options may result in a drier, less flavorful bun, so embrace the richness for the best experience.
Alternative Sweeteners for Depth of Flavor
Experimenting with alternative sweeteners like honey or maple syrup in the glaze can add natural depth and richness. These sweeteners pair beautifully with the warm spices in the buns, creating a balanced, nuanced sweetness that enhances the overall flavor profile. Honey, in particular, adds a touch of floral sweetness, while maple syrup brings a hint of earthiness. For a unique twist, consider blending a little honey into the glaze, which adds sheen and a slightly thicker consistency.
Making the Perfect Roll Shape
Achieving uniform, bakery-style buns starts with shaping the dough correctly. Portion each dough piece and gently roll it into a compact shape. Wet hands or lightly oiled parchment paper can help in forming smooth buns. This step ensures each bun bakes evenly and has a cohesive appearance. Leaving slight space between each roll on the baking tray allows for expansion during baking, creating soft, pull-apart buns with perfectly rounded tops.
Conclusion: Mastering Gluten-Free Iced Buns
Creating gluten-free iced buns takes a bit of extra care, but the results are worth every step. From choosing the right flour to perfecting the glaze, these buns can be a delightful addition to any gluten-free baker’s repertoire. Take your time, savor the process, and enjoy the satisfaction of creating buns that rival those from a traditional bakery. With each bite, you’ll experience the tender texture, gentle sweetness, and warm spices that make these buns truly special. Explore more gluten-free baking tips to refine your skills even further.
For more homemade cracker recipes, check out our Gluten-Free Irish Soda Bread Recipe !
If you enjoyed this recipe, we’d love to hear from you! Feel free to send us your thoughts or any questions you may have by visiting our Contact Us page.


1 thought on “Gluten-Free Iced Buns”