There’s something heartwarming about a rustic, freshly baked loaf of Gluten-Free Irish Soda Bread, especially when it’s made for everyone, including those with dietary restrictions. If you’re searching for a way to enjoy this beloved classic while keeping it gluten-free, look no further. This gluten-free soda bread recipe captures the essence of traditional Irish baking without compromising flavor or texture. Imagine a loaf that’s tender on the inside, golden-brown on the outside, and just the right level of crumbly. With just a handful of ingredients and no yeast, you’ll have a deliciously authentic, Irish soda bread gluten free masterpiece in under an hour. Perfect for morning toast or alongside a cozy bowl of stew, this recipe brings the charm of Ireland to your kitchen with minimal effort. Curious? Let’s dive into this easy, irresistible gluten-free soda bread recipe! For more Irish classics, see this traditional soda bread recipe or try more gluten-free breads here.
⏲️ Quick Recipe Details for Gluten-Free Irish Soda Bread Recipe
- 🍴Prep: 10 minutes
- 🍲Cook: 30 minutes
- ⏰Total: 40 minutes
- 🍴Servings: 12 slices
Ingredients for Gluten-Free Irish Soda Bread Recipe🥖
- 🥣 Plain Gluten-Free Flour: A standard gluten-free flour blend works well. I recommend FREEE brand, but most blends should do fine.
- 🍬 Caster Sugar: Also known as Baker’s Sugar in the U.S.
- 🌱 Xanthan Gum: Essential for shaping the dough and preventing it from crumbling.
- ✨ Bicarbonate of Soda: Or baking soda in the U.S., this is the magic ingredient that makes the bread rise.
- 🥚 Egg: Adds moisture to the dough.
- 🍶 Natural Yogurt: Keeps the dough moist without making it too runny.
- 🥛 Milk: Combined with lemon juice, this creates a quick, homemade buttermilk.
- 🧂 Salt
Imagine savoring the rustic, hearty taste of traditional soda bread with the twist of being completely gluten-free! This gluten-free soda bread recipe takes you to the heart of Irish baking, offering the same wholesome texture and flavor while catering to gluten sensitivities. With no yeast or lengthy kneading needed, this recipe delivers warm, crusty bread in under an hour. A subtle tang from homemade buttermilk, combined with a delicate crumb, makes each slice irresistible. Perfect for breakfast or with a cozy soup, this Irish soda bread gluten-free loaf is as simple as it is delicious. For more on gluten-free baking essentials, check out this complete guide. Enjoy a taste of Ireland in a way that’s accessible to everyone!
Directions for Gluten-Free Irish Soda Bread Recipe
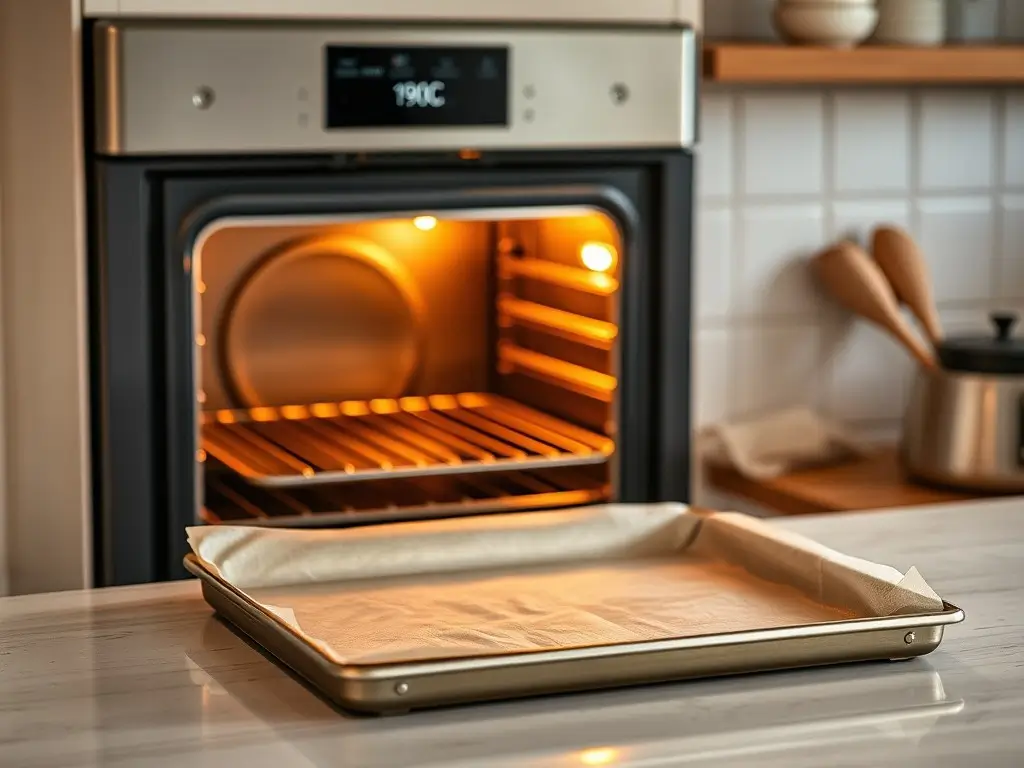
Step 1: Prepare the Oven and Baking Sheet
Preheat the oven to 190°C (Gas 5). Line a baking sheet with parchment paper and set it aside. A hot oven is key to achieving the perfect crust, creating that golden exterior while allowing the interior to bake evenly. The higher initial temperature ensures the bread rises properly, giving you a beautifully rustic look with a tender crumb. Be sure to place your dough in the preheated oven as soon as it’s shaped for the best results.
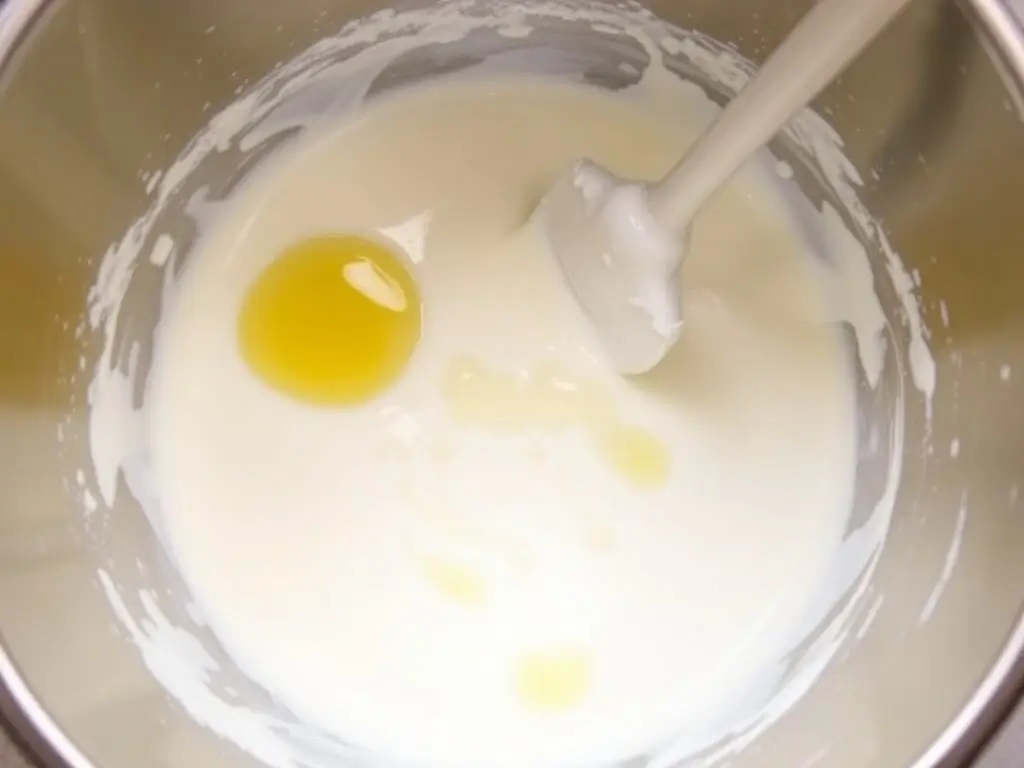
Step 2: Make Homemade Buttermilk
Combine yogurt, milk, and lemon juice in a bowl, stirring gently to let it slightly curdle. This mix will act as buttermilk, adding a slight tang and softness to the bread. The acid in the lemon juice reacts with the baking soda later, creating bubbles that will help your bread rise without yeast. Allow the mixture to sit for a minute or two before adding it to the dry ingredients for a well-rounded flavor and tender texture.
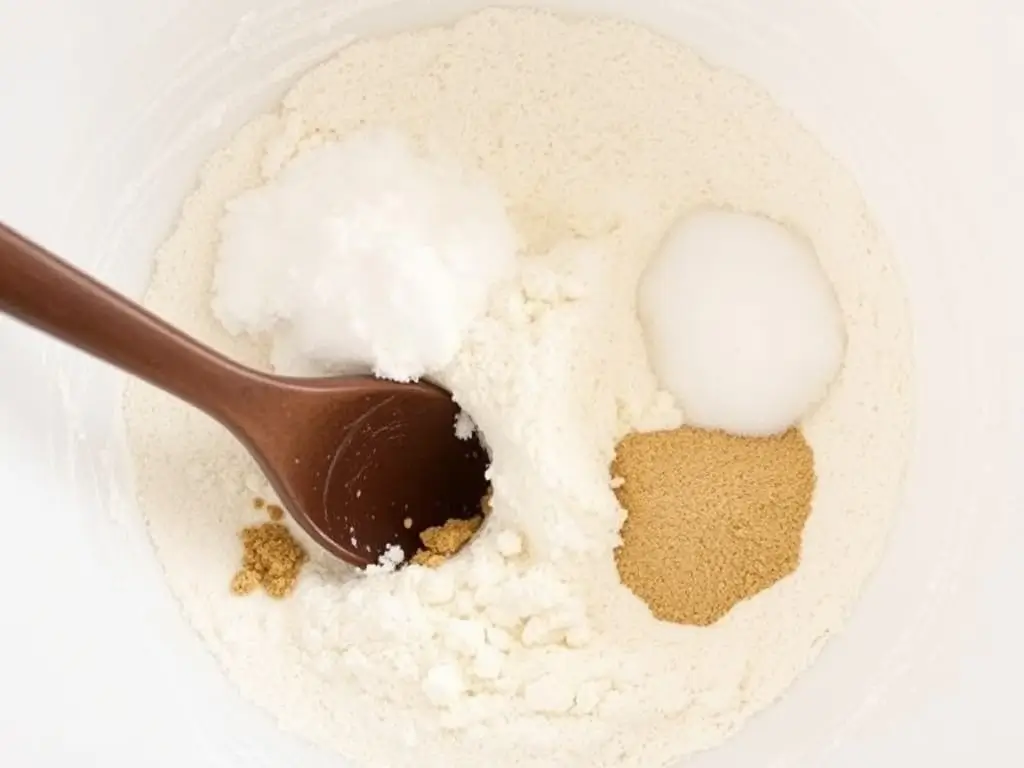
Step 3: Prepare Dry Ingredients
In a large bowl, add flour, salt, xanthan gum, sugar, and bicarbonate of soda. Mix thoroughly to ensure even distribution of ingredients. This blend of dry ingredients is the foundation of your bread’s texture and flavor. Xanthan gum, in particular, is essential as it mimics gluten’s elasticity, helping the bread hold its shape. Be careful to mix well but avoid overworking the flour to keep your bread from becoming dense.
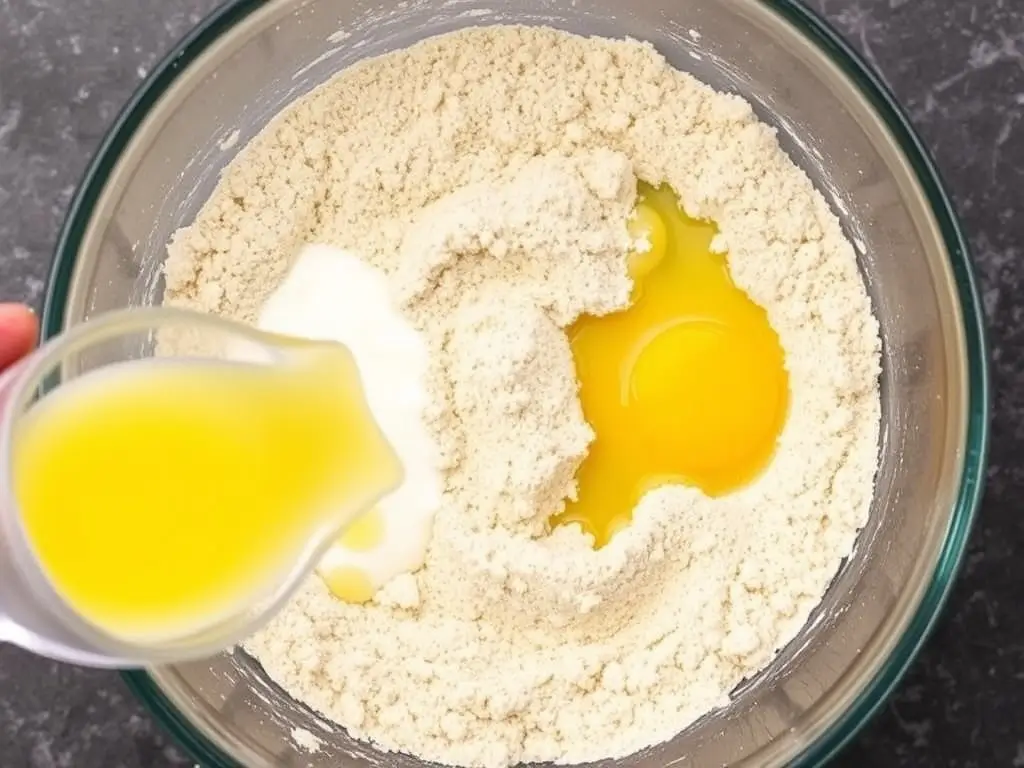
Step 4: Add Wet Ingredients
Pour in the buttermilk mixture, then add the lightly whisked egg to bind everything together. Mixing these wet ingredients with the dry ones creates a soft dough that is easy to shape. The yogurt and egg help add moisture, preventing the bread from drying out while contributing to the crumb’s softness. Stir with a wooden spoon until a sticky dough forms, and make sure all ingredients are fully combined before moving on to the next step.
Step 5: Form the Dough
Transfer the sticky dough onto a lightly floured surface. Dust your hands with gluten-free flour to make it easier to handle, and shape it into a ball. If the dough feels too sticky, add just a small sprinkle of flour—too much will dry it out. Moulding it gently helps preserve the air pockets inside, ensuring your bread has a soft, light crumb. This dough will hold its shape but may spread slightly during baking.

Step 6: Score the Bread
Place the dough onto the parchment-lined baking sheet. Use a sharp knife to score a deep ‘X’ on top of the loaf, allowing it to expand while baking. The scored ‘X’ is traditional in soda bread, symbolizing blessings on the bread while also promoting even cooking. A light dusting of gluten-free flour on top creates a rustic look, adding a beautiful texture to the crust as it bakes.

Step 7: Bake and Cool
Bake in the center of the oven for around 30 minutes until golden-brown. The crust should be firm, and the bread should sound hollow when tapped on the bottom—this means it’s fully baked. Allow it to cool on a wire rack for about 15 minutes before slicing to let the crumb set. This brief cooling time enhances the flavor and texture, making each slice firm yet tender. Enjoy warm or toasted with butter or your favorite spread!
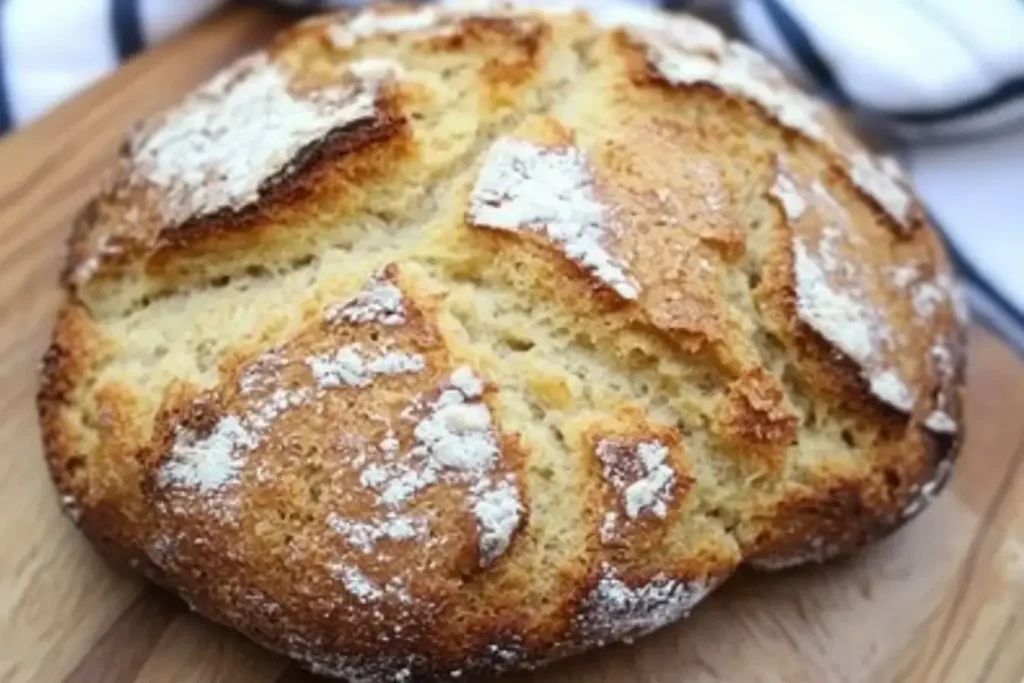
Nutrition Facts for Gluten-Free Irish Soda Bread 🍞
- 🔥 Calories: 124 kcal
- 🍞 Carbohydrates: 24g
- 💪 Protein: 4g
- 🧈 Fat: 2g
Helpful Tips to Make the Perfect Gluten-Free Irish Soda Bread
For best results, select a high-quality gluten-free flour blend, as the texture can vary widely depending on the brand. If the dough feels overly sticky, add a light dusting of flour—too much flour will make it dry, so be careful. Xanthan gum is a must here, providing structure and elasticity to the dough, preventing it from becoming too crumbly. Resist the urge to overwork the dough; the beauty of soda bread lies in its rustic, slightly coarse texture. Make sure to score the ‘X’ deeply, as this helps the bread cook evenly and gives it that classic Irish look. Enjoy your bread warm with a pat of butter or alongside your favorite hearty soup.
- Calories: 124 kcal
- Carbohydrates: 24g
- Protein: 4g
- Fat: 2g
Discover the Secrets to Make a Gluten-Free Irish Soda Bread That’s Perfect for Every Meal
1. Choose the Right Flour Blend
Selecting a high-quality gluten-free flour blend is essential to achieving the perfect texture for your soda bread. Look for a blend that includes rice flour, tapioca starch, and potato starch, as these mimic the qualities of wheat flour and give a balanced texture. Avoid single-flour options, as they may leave your bread crumbly or overly dense. Experiment with a few brands to see which one you prefer; the right blend can make all the difference in creating a bread that is soft, slightly chewy, and wonderfully satisfying.
2. Why the Buttermilk is Key
Buttermilk is a secret weapon in gluten-free baking, as its acidity works with bicarbonate of soda to give your bread a beautiful rise. When you add lemon juice to milk, it curdles, creating a homemade buttermilk that offers a mild tang and contributes to a fluffy texture. This natural leavening process is what makes soda bread unique from yeasted loaves. The result? A tender crumb with a slight rise and just the right amount of tanginess that complements savory or sweet pairings alike.
3. Don’t Forget the Xanthan Gum
Xanthan gum is crucial for gluten-free baking because it provides the structure that gluten normally would, giving elasticity and chewiness to the dough. Without it, gluten-free breads can easily fall apart, resulting in a crumbly texture. Only a small amount of xanthan gum is needed to hold your dough together and create a cohesive loaf. This ingredient also helps the bread keep its shape during baking and allows it to be sliced without falling apart. Make sure to include it to achieve the best results in your soda bread.
4. Opt for Natural Yogurt for Extra Moisture
Natural yogurt brings additional moisture to the dough, ensuring your soda bread stays soft and tender. Yogurt also contributes a subtle tang that enhances the flavor, giving it a more complex profile. Since gluten-free flours can sometimes yield drier textures, yogurt plays an essential role in preventing dryness. If you don’t have yogurt on hand, a thick Greek-style yogurt can also work well. By adding yogurt, you’ll avoid a dense or crumbly loaf, making each bite rich and deliciously soft.
5. Avoid Overworking the Dough
When it comes to soda bread, less is more. Over-mixing the dough can cause it to become too dense, as excessive handling releases the air needed for a lighter loaf. Simply mix the ingredients until they come together into a sticky dough, avoiding too much kneading or folding. A rustic loaf with an airy crumb requires minimal handling, so be gentle when shaping and don’t worry if it looks a little rough around the edges. This minimal mixing ensures that your gluten-free soda bread stays light and not overly compact.
6. Embrace the Sticky Texture
Unlike traditional bread doughs, gluten-free dough can be unexpectedly sticky, but this is completely normal. A sticky dough is often a good sign that it has enough moisture, which will help keep your soda bread tender and moist. Dust your hands and surface with a little gluten-free flour to make shaping easier, but resist the urge to add too much flour. With gluten-free baking, stickiness is usually a sign of a successful dough that will result in a moist, soft loaf rather than a dry, dense one.
7. The Importance of Scoring
Scoring the top of your soda bread with a deep ‘X’ is more than a decorative touch—it’s a traditional technique that allows the loaf to expand as it bakes, ensuring even cooking and a perfect rise. A properly scored bread also develops a crisp, golden crust that contrasts beautifully with the tender interior. Use a sharp knife to make a clean cut, which will also help the loaf retain its shape. This step not only enhances the appearance but also contributes to an even bake and beautiful presentation.
8. Bake It Until It Sounds Hollow
One of the best ways to check if your bread is done is by tapping it on the top and bottom; if it sounds hollow, it’s fully baked. This hollow sound indicates that the interior is cooked through, and the loaf is light and airy rather than underbaked and doughy. Aim for a golden-brown crust as an additional visual cue. Baking for the full 30 minutes usually achieves the best results, but oven temperatures can vary, so keep an eye on the bread’s color as well.
9. Cool Slightly Before Slicing
Although the aroma of fresh gluten-free Irish soda bread may tempt you to cut into it right away, letting it cool for at least 15 minutes allows the bread to set. Slicing too soon can cause it to crumble, as the bread is still solidifying. Resting it briefly also intensifies the flavor, letting you enjoy a more cohesive texture with each slice. Patience is key, as this brief cooling period ensures your bread is perfectly sliceable and holds together beautifully when served.
10. Conclusion: Perfect Gluten-Free Irish Soda Bread Every Time
By following these simple yet effective techniques, you’ll be able to bake gluten-free Irish soda bread that rivals any traditional loaf. From selecting the right ingredients to perfecting your baking technique, each step contributes to a beautiful, rustic bread that’s equally enjoyable with sweet or savory toppings. With this recipe, you’ll soon have a loaf that’s tender, flavorful, and perfect for any meal.
For more homemade cracker recipes, check out our Gluten-Free Pumpkin Muffins !
If you enjoyed this recipe, we’d love to hear from you! Feel free to send us your thoughts or any questions you may have by visiting our Contact Us page.

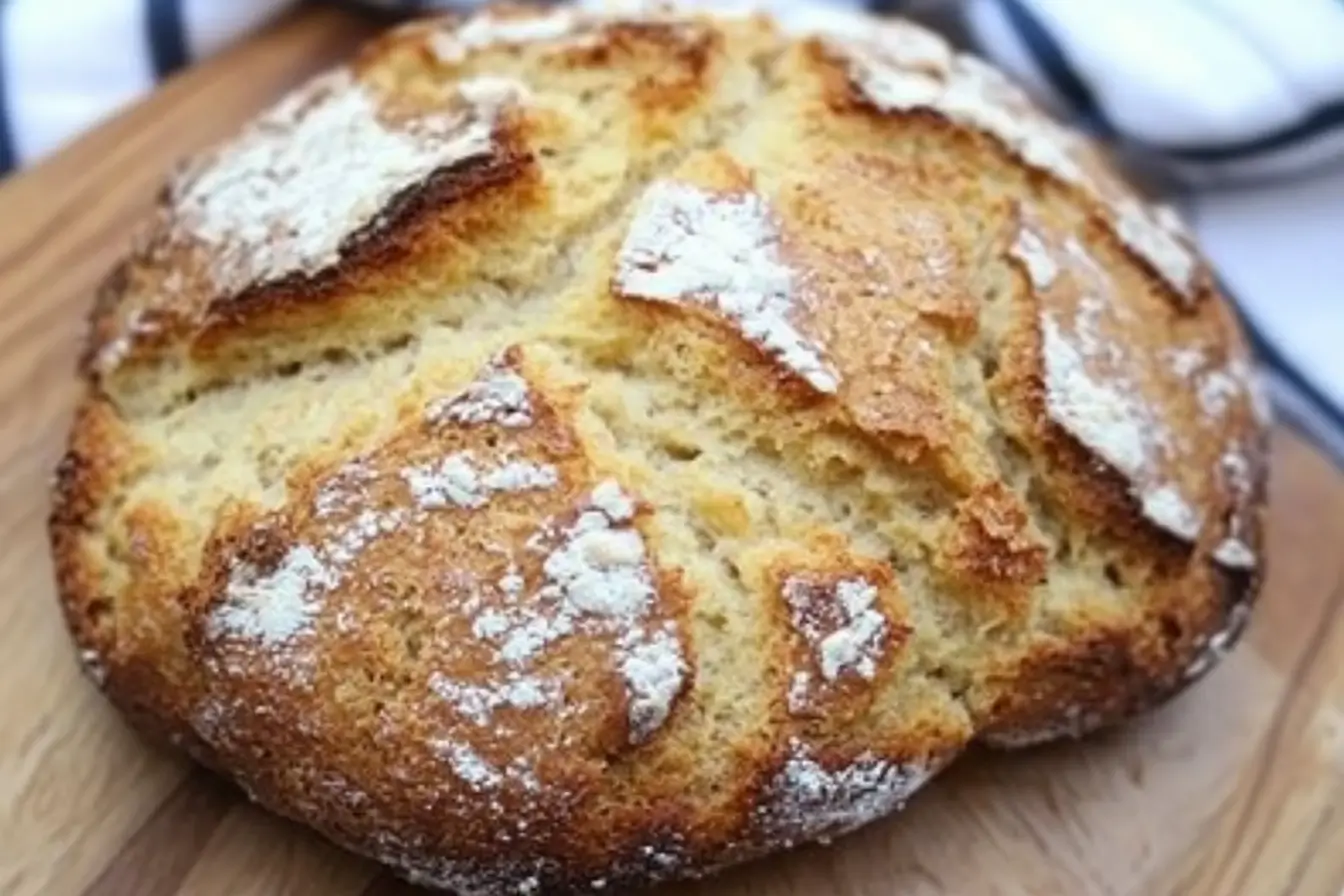
1 thought on “Gluten-Free Irish Soda Bread Recipe”