There’s something truly magical about the warm, spiced aroma of freshly baked pumpkin muffins gluten free filling the kitchen. Imagine a fluffy, golden muffin, delicately spiced, with a hint of sweetness—all without a trace of gluten. Perfectly moist and easy to whip up, this gluten free pumpkin muffin recipe is a seasonal treat that pairs beautifully with your morning coffee or an afternoon tea break. For those craving an extra touch of decadence, a sprinkle of chocolate chips transforms these into indulgent gluten free pumpkin chocolate chip muffins, a delight with every bite. Get ready to embrace the flavors of autumn, one tender, gluten-free muffin at a time.
🍴 Prep Time: 10 minutes | 🍲 Cooking Time: 25 minutes | ⏰ Total Time: 35 minutes
Gluten-Free Pumpkin Muffin Ingredients
- 🎃 1 cup pumpkin puree
- 🥜 1/2 cup almond butter or peanut butter
- 🥚 2 large eggs
- 🍯 1/4 cup honey or maple syrup
- 🥄 1/2 tsp baking soda
- 🥄 1/2 tsp baking powder
- 🍂 1/2 tsp ground cinnamon
- 🌿 1/4 tsp ground ginger
- 🍁 1/4 tsp ground nutmeg
- 🧄 1/8 tsp ground cloves
- 🧂 1/4 tsp salt
- 🍦 1 tsp vanilla extract
- 🍫 1/2 cup chocolate chips (optional)
Creating these muffins is as straightforward as it is satisfying. With the right combination of spices, a base of rich pumpkin puree, and the optional indulgence of chocolate chips, these muffins are both nutritious and delightfully satisfying. Their versatility makes them perfect for breakfast, snacking, or dessert!
Steps to Make Gluten-Free Pumpkin Muffins
Creating these gluten-free pumpkin muffins is straightforward, and with a few easy steps, you’ll have a batch ready to enjoy. Follow these detailed instructions to achieve muffins that are soft, fluffy, and packed with warm autumn flavors.
Step 1: Preheat the Oven
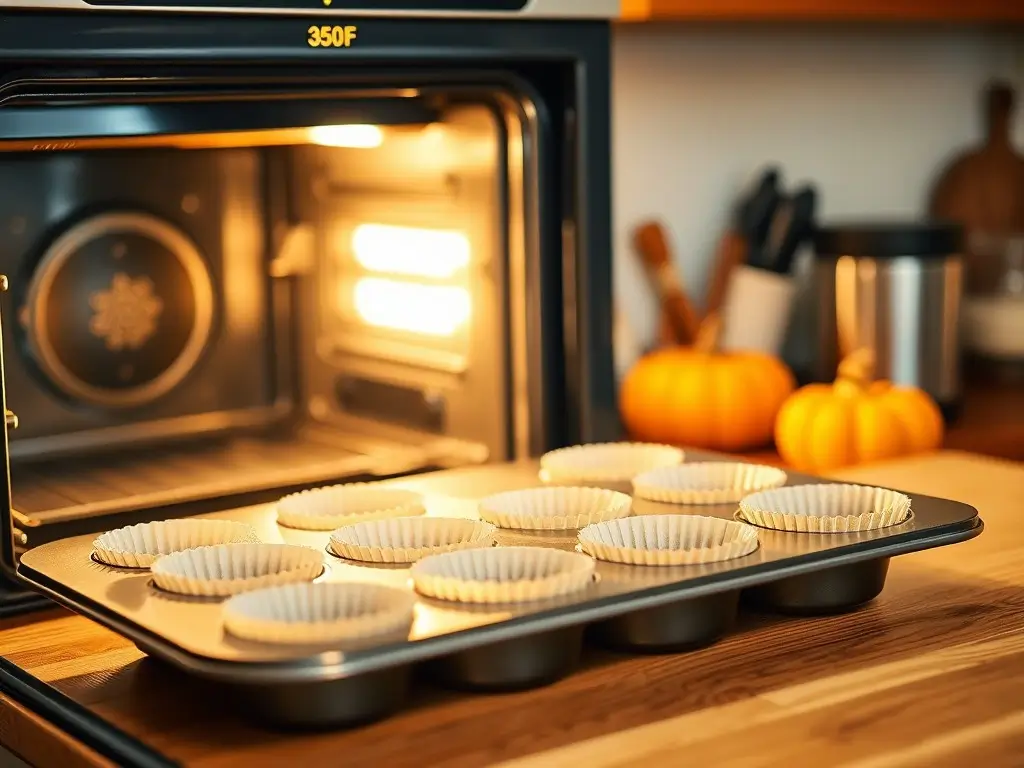
Start by preheating your oven to 350°F (175°C). Preparing your oven in advance ensures an even bake, which helps these muffins rise perfectly. While the oven heats up, line a 12-cup muffin tin with paper liners to make cleanup easy and keep the muffins from sticking. A well-preheated oven is key for consistent results.
Step 2: Combine Wet Ingredients
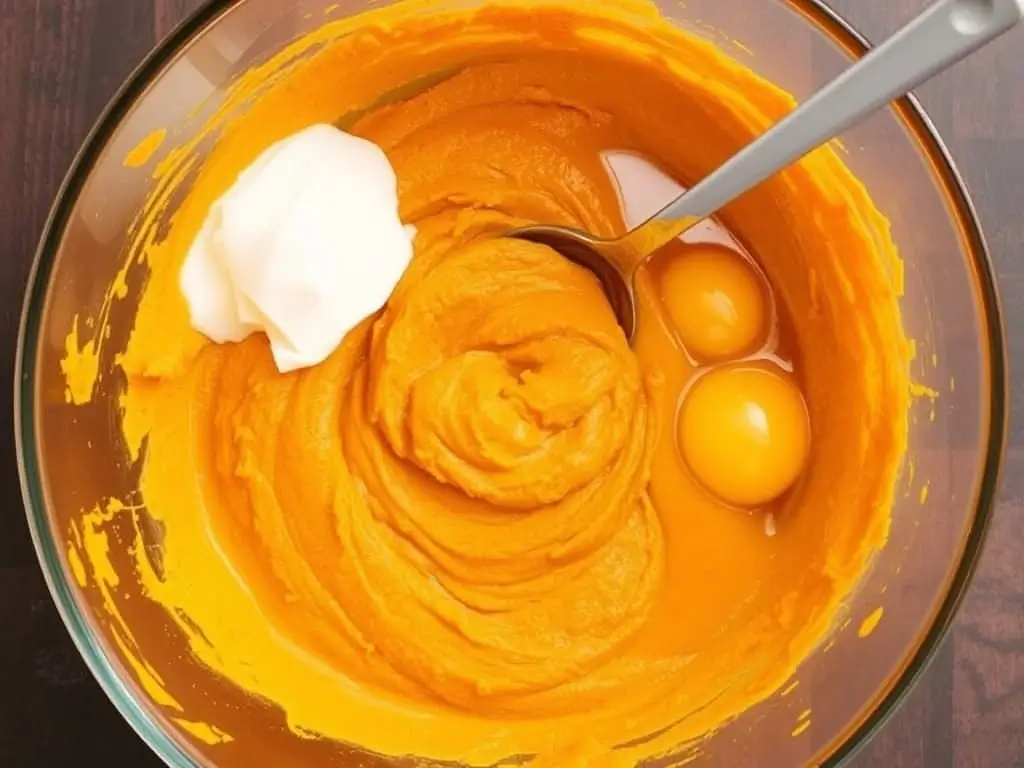
In a large mixing bowl, blend the pumpkin puree, almond butter, eggs, honey, and vanilla extract. Stir until the mixture becomes smooth and creamy. This step is crucial for even flavor distribution, as these ingredients create the rich, moist base of the muffins. Ensure there are no lumps to achieve a consistent batter texture.
Step 3: Add Dry Ingredients and Spices
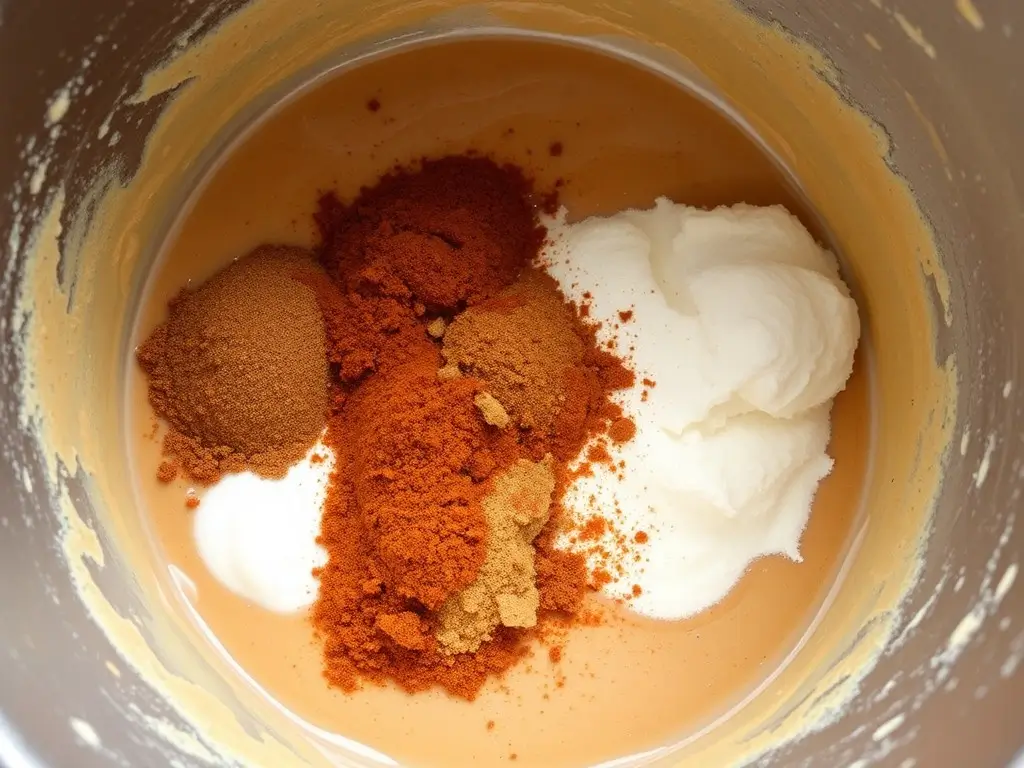
Add baking soda, baking powder, cinnamon, ginger, nutmeg, cloves, and salt into the bowl with the wet ingredients. Blend these together until fully combined, creating a spiced batter that captures the essence of fall. The spices not only bring depth to the muffins but also enhance the natural pumpkin flavor, making each bite deliciously aromatic.
Step 4: Fold in Chocolate Chips
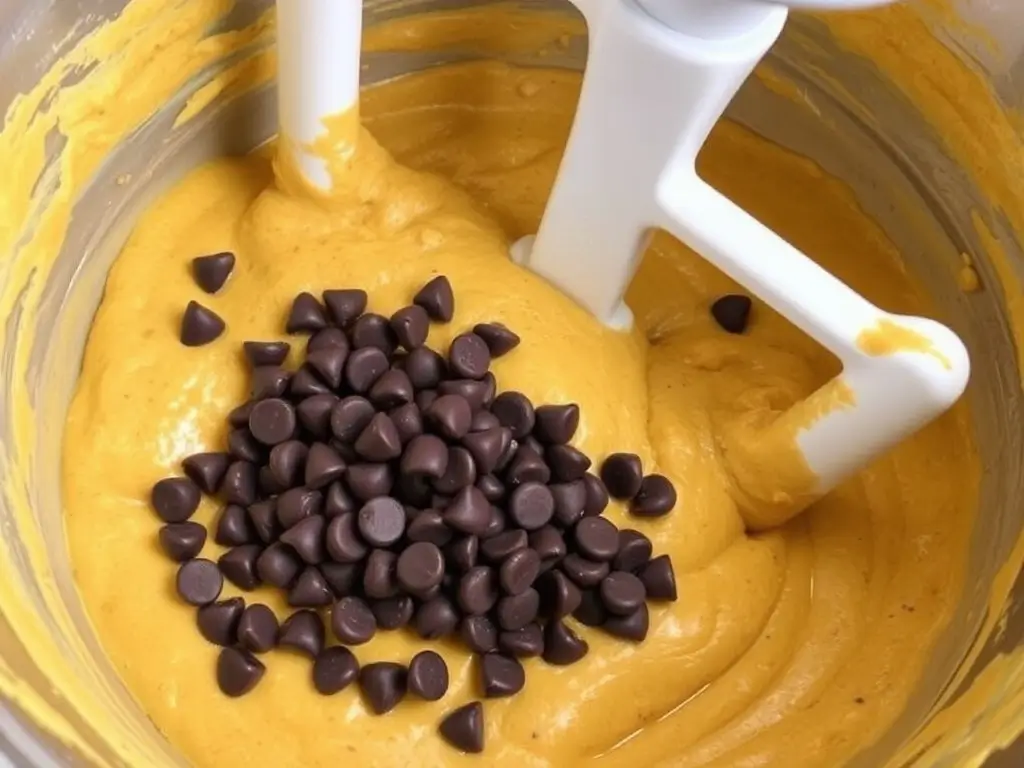
For an extra indulgence, gently fold in chocolate chips. The chocolate adds a touch of sweetness that complements the spices and pumpkin flavor. Fold them in just enough to distribute evenly throughout the batter. Overmixing at this stage can affect the texture, so keep the stirring minimal for best results.
Step 5: Fill Muffin Liners
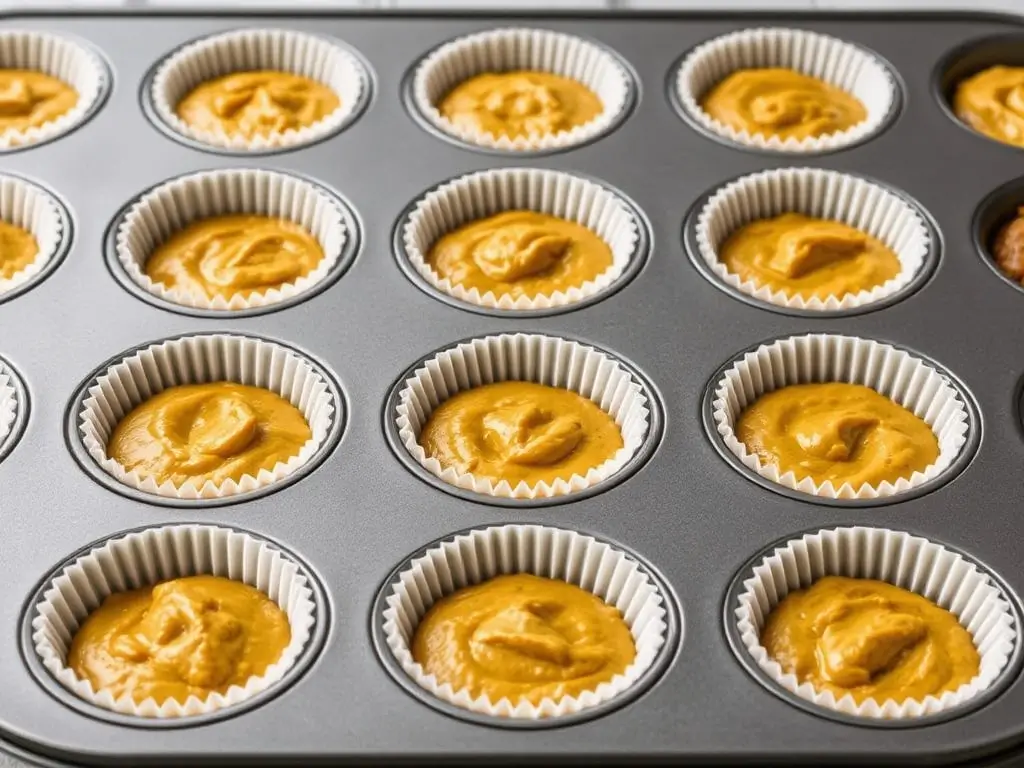
Evenly distribute the batter among the 12 muffin liners, filling each about 3/4 full. This allows the muffins to rise without overflowing. Filling each liner evenly helps ensure they bake at the same rate, resulting in uniformly golden tops and soft centers. The 3/4 fill is the sweet spot for light, fluffy muffins.
Step 6: Bake the Muffins
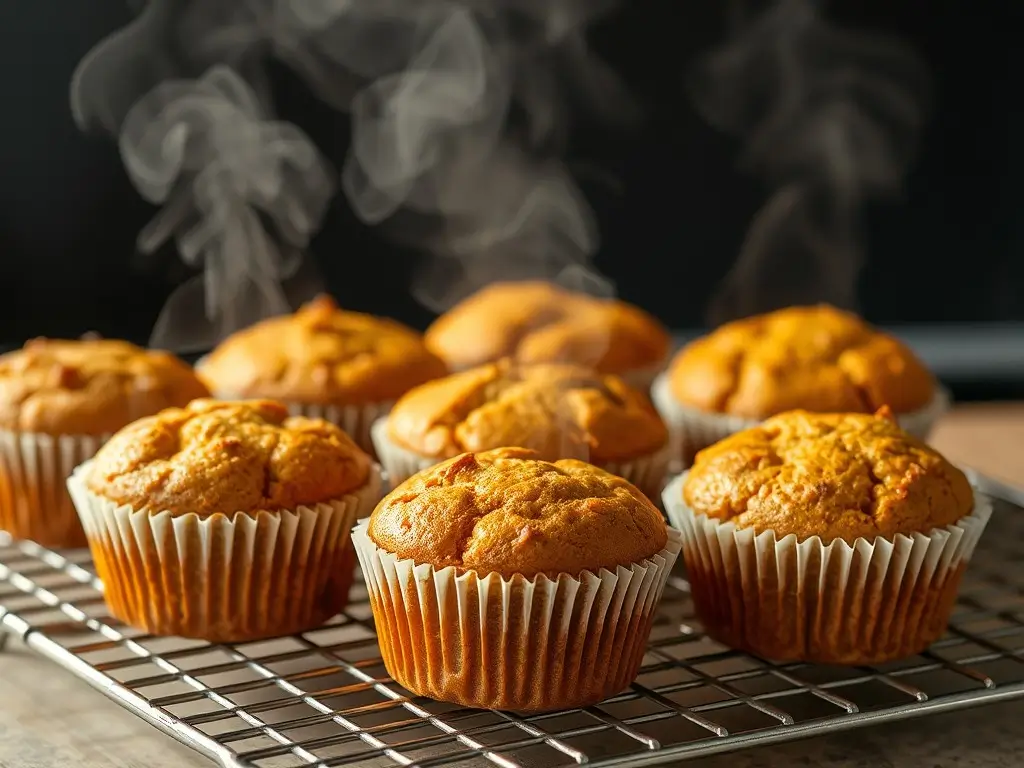
Place the muffin tin in your preheated oven and bake for 20-25 minutes, or until a toothpick inserted in the center of a muffin comes out clean. Baking times can vary, so start checking at 20 minutes. The tops should be golden brown, with a slight spring when touched. This step is crucial for that ideal soft and fluffy texture.
Step 7: Cool the Muffins
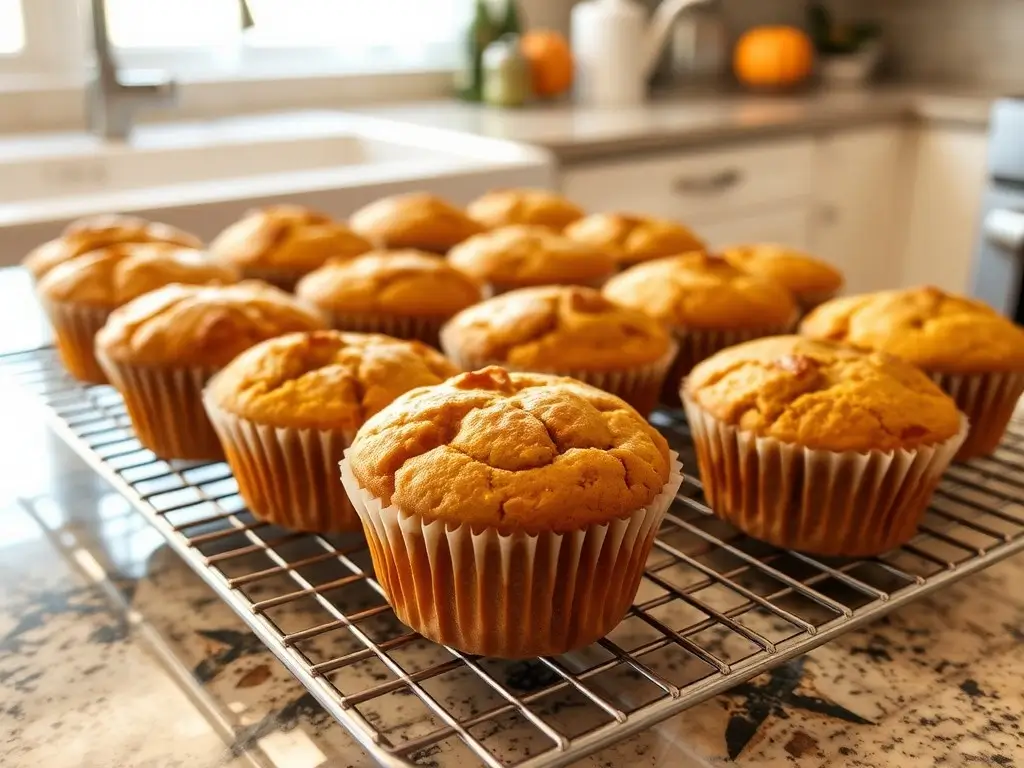
Once baked, let the muffins cool in the tin for about 10 minutes, then transfer them to a wire rack to cool completely. Cooling allows the muffins to set, enhancing both texture and flavor. If you try to remove them too soon, they may crumble, so a bit of patience pays off here. Enjoy warm or store for later!
Nutrition Facts for Gluten-Free Pumpkin Muffins
- 🔥 Kcal: 150 kcal
- 🧁 Servings: 12 muffins
Helpful Tips to Make the Perfect Gluten-Free Pumpkin Muffins
To ensure your pumpkin gluten free muffins come out perfectly each time, start with quality ingredients. Using fresh spices will enhance the depth of flavor, especially in a recipe where each spice plays a key role in the final taste. Also, be mindful not to over-mix; too much stirring can lead to a denser texture. For added moisture, opt for almond butter, as it blends beautifully with pumpkin puree. If using chocolate chips, consider sprinkling a few on top before baking for a tempting presentation. And finally, give the muffins enough time to cool on a wire rack—this helps them set and enhances their texture.
Discover the Secrets to Make Gluten-Free Pumpkin Muffins
Baking warm, fluffy gluten-free pumpkin muffins can be simple with the right techniques! When you know a few insider tricks, you can take your muffins from good to truly extraordinary. By carefully selecting ingredients and following some tried-and-true methods, you can create muffins that have a perfectly moist crumb, a beautiful golden color, and a classic fall flavor. Each of these steps plays a key role in achieving that light, airy texture and delightful pumpkin taste. Let’s dive into some essential tips to elevate your baking game and make these muffins the star of any gathering!
1. Choose the Right Pumpkin Puree to make the perfect Gluten-Free Pumpkin Muffins
Using pure, unsweetened pumpkin puree is crucial for the best flavor. While it may be tempting to use canned pumpkin pie filling, which is pre-seasoned and sweetened, this can interfere with the muffins’ balance of spices and sweetness. Pure pumpkin puree has a naturally earthy sweetness that perfectly complements spices like cinnamon and nutmeg. It also has the right consistency for creating a soft texture. Whether you use fresh or canned pumpkin puree, ensure it’s smooth, lump-free, and free of additives for a truly rich pumpkin taste.
2. Use Nut Butters for Added Moisture
For a moist, tender muffin texture without relying on excess oil, try adding almond or peanut butter to the batter. These nut butters enhance the richness and depth of flavor while helping the muffins retain moisture as they bake. They also add a subtle nuttiness that pairs beautifully with pumpkin and fall spices. Opt for natural, unsweetened almond or peanut butter for the best results, as this ensures no extra sugars or preservatives interfere with the flavor. Stirring well before adding ensures an even distribution throughout the batter for perfectly moist muffins.
3. Balance Your Spices
To capture the full essence of fall in every bite, use a balanced blend of cinnamon, ginger, nutmeg, and cloves. Each of these spices has a unique role: cinnamon offers warmth, ginger adds a touch of spiciness, nutmeg brings subtle sweetness, and cloves give depth. Too much of any single spice can overwhelm the delicate flavor of the pumpkin, so use them in moderation. Start with smaller amounts and adjust to your taste preference if needed. This balance of spices creates that nostalgic, cozy aroma and taste that make these muffins unforgettable.
4. Experiment with Sweeteners
Natural sweeteners like honey and maple syrup add more than just sweetness—they bring complexity and a hint of caramel flavor that pairs beautifully with pumpkin. Honey adds moisture and a floral undertone, while maple syrup brings a unique richness. Both work well in small amounts, giving the muffins a soft, moist texture and preventing them from becoming overly dense. If you prefer a less sweet option, you can also experiment with coconut sugar for a hint of molasses. Adjust sweetness based on your taste, keeping the pumpkin and spices in perfect harmony.
5. Choose High-Quality Chocolate Chips
Adding chocolate chips to gluten-free pumpkin muffins is a fantastic way to elevate them, but the type of chocolate matters. High-quality, semi-sweet chocolate chips melt beautifully and complement the warm spices without overpowering them. Semi-sweet chocolate offers the right balance of sweetness and richness, enhancing the pumpkin’s natural flavor. If you enjoy a deeper chocolate flavor, try using dark chocolate chips instead. Fold them gently into the batter to ensure an even distribution, allowing each muffin to have a balanced amount of chocolate in every bite.
6. Don’t Overmix the Batter
To achieve light, tender muffins, mix the batter until just combined. Overmixing can cause gluten development, even in gluten-free flours, resulting in tough, chewy muffins rather than the desired fluffy texture. Stir the ingredients until there are no streaks of flour, but don’t worry if a few small lumps remain; they’ll work themselves out in the baking process. Overmixing also knocks out the air incorporated during mixing, which can prevent the muffins from rising properly. Keep your stirring gentle, and your muffins will turn out soft and airy.
7. Fill the Muffin Liners Correctly
Achieving the perfect rise in your muffins requires filling the liners to just the right level. Aim to fill each muffin liner about 3/4 full. This gives the batter enough room to rise without spilling over the edges, resulting in that beautifully domed muffin top. Overfilling can lead to uneven baking and mess in the muffin tin, while underfilling can result in flatter muffins. For an extra bakery-style touch, sprinkle a bit of cinnamon sugar on top before baking to create a lightly crisp topping.
8. Bake on the Middle Rack
Baking muffins on the middle rack of the oven allows for even heat distribution, ensuring each muffin bakes uniformly. The middle rack is ideal because it prevents the muffins from browning too quickly on the top while still cooking through to the center. If your oven tends to have hot spots, you can rotate the muffin tin halfway through baking to promote even browning. This positioning also helps the muffins develop a golden-brown top without becoming dry, giving you a soft, fluffy interior with a slightly crisp exterior.
9. Let the Muffins Cool Completely
Allowing the muffins to cool completely before eating enhances their texture and flavor. Muffins that are still warm may feel too soft, and the flavors won’t have had a chance to fully meld. Cooling them on a wire rack for about 10 minutes in the tin and then transferring them out of the tin ensures they set nicely. As they cool, the muffins firm up, becoming tender and cohesive. This patience step helps avoid crumbly muffins and ensures you get that perfect bite, with all the spices fully developed and the pumpkin flavor at its best.
Conclusion: Perfect Gluten-Free Pumpkin Muffins Every Time
Mastering these techniques will make your gluten-free pumpkin muffins the talk of any gathering! From the rich flavors of pumpkin and spices to the moist, fluffy texture, these muffins are an ideal seasonal treat. With each bite, you’ll enjoy the perfect harmony of fall spices, soft pumpkin, and, if you like, pockets of melted chocolate. Experimenting with these steps will make you a confident gluten-free baker, ready to recreate this cozy recipe whenever the craving strikes. This is particularly important when working with delicate recipes like gluten-free pumpkin bread or gluten-free white bread, where too much flour or too little liquid can drastically affect the final outcome. Enjoy the warm, comforting flavors of fall with every delicious bite!

2 thoughts on “Gluten-Free Pumpkin Muffins”